Before & After Part One. A look at livery design techniques to improve detail.
Welcome to Before & After - a Gran Turismo Sport Livery Editor tutorial where we look in detail at some of the techniques used to create high quality liveries.
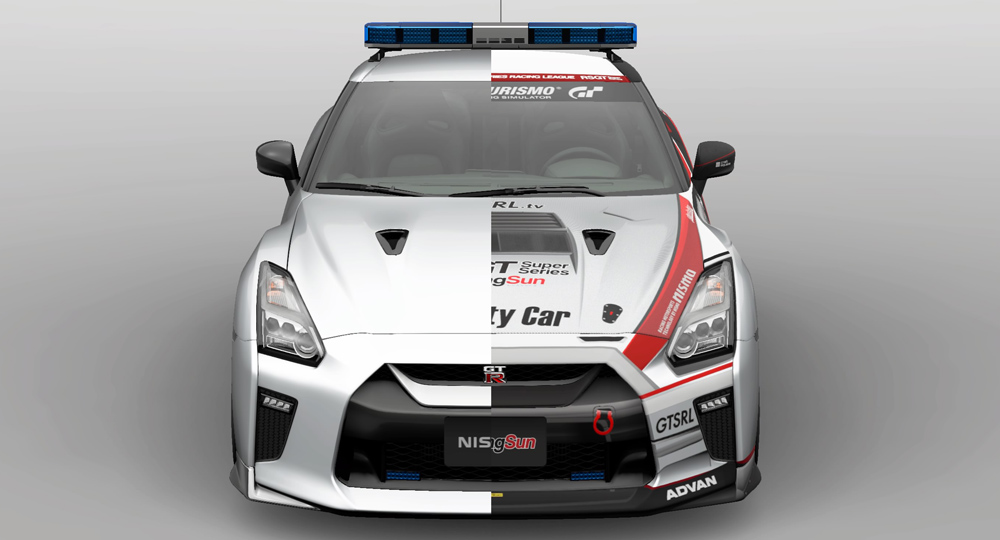
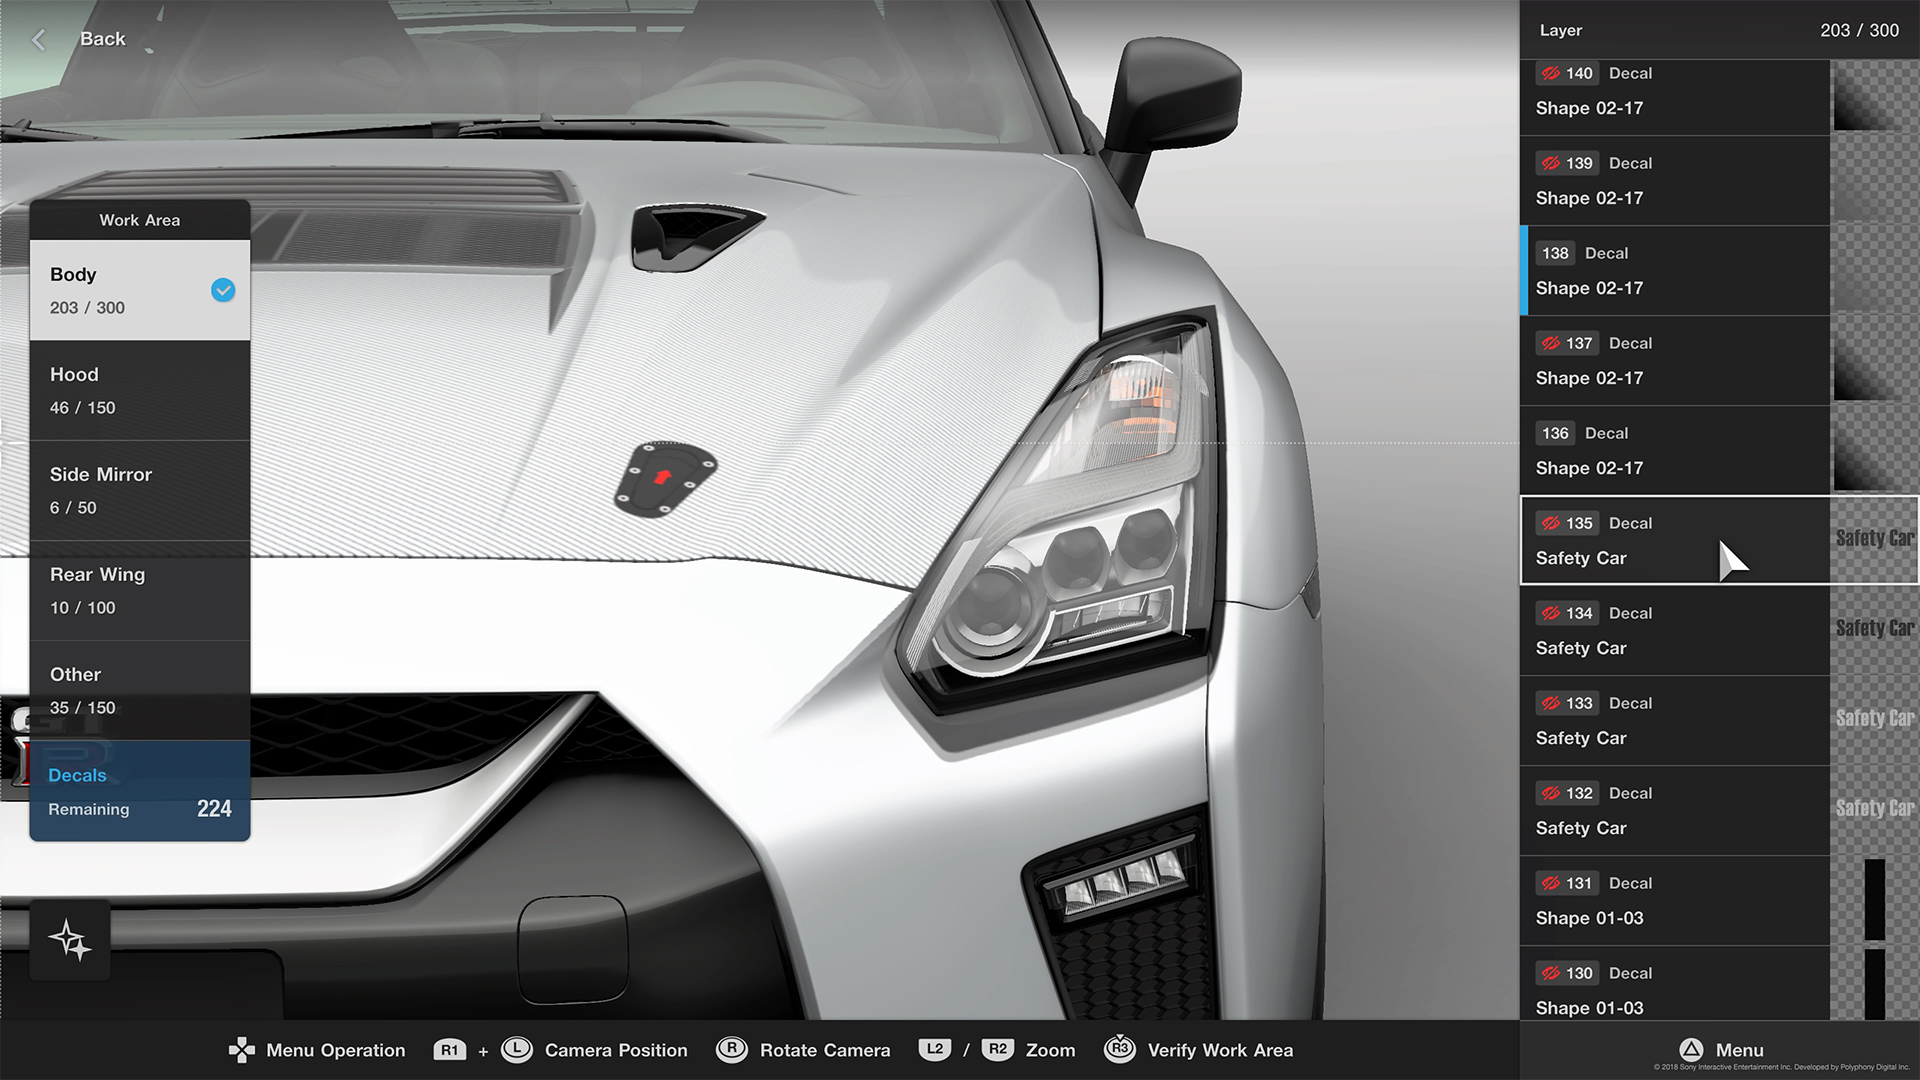
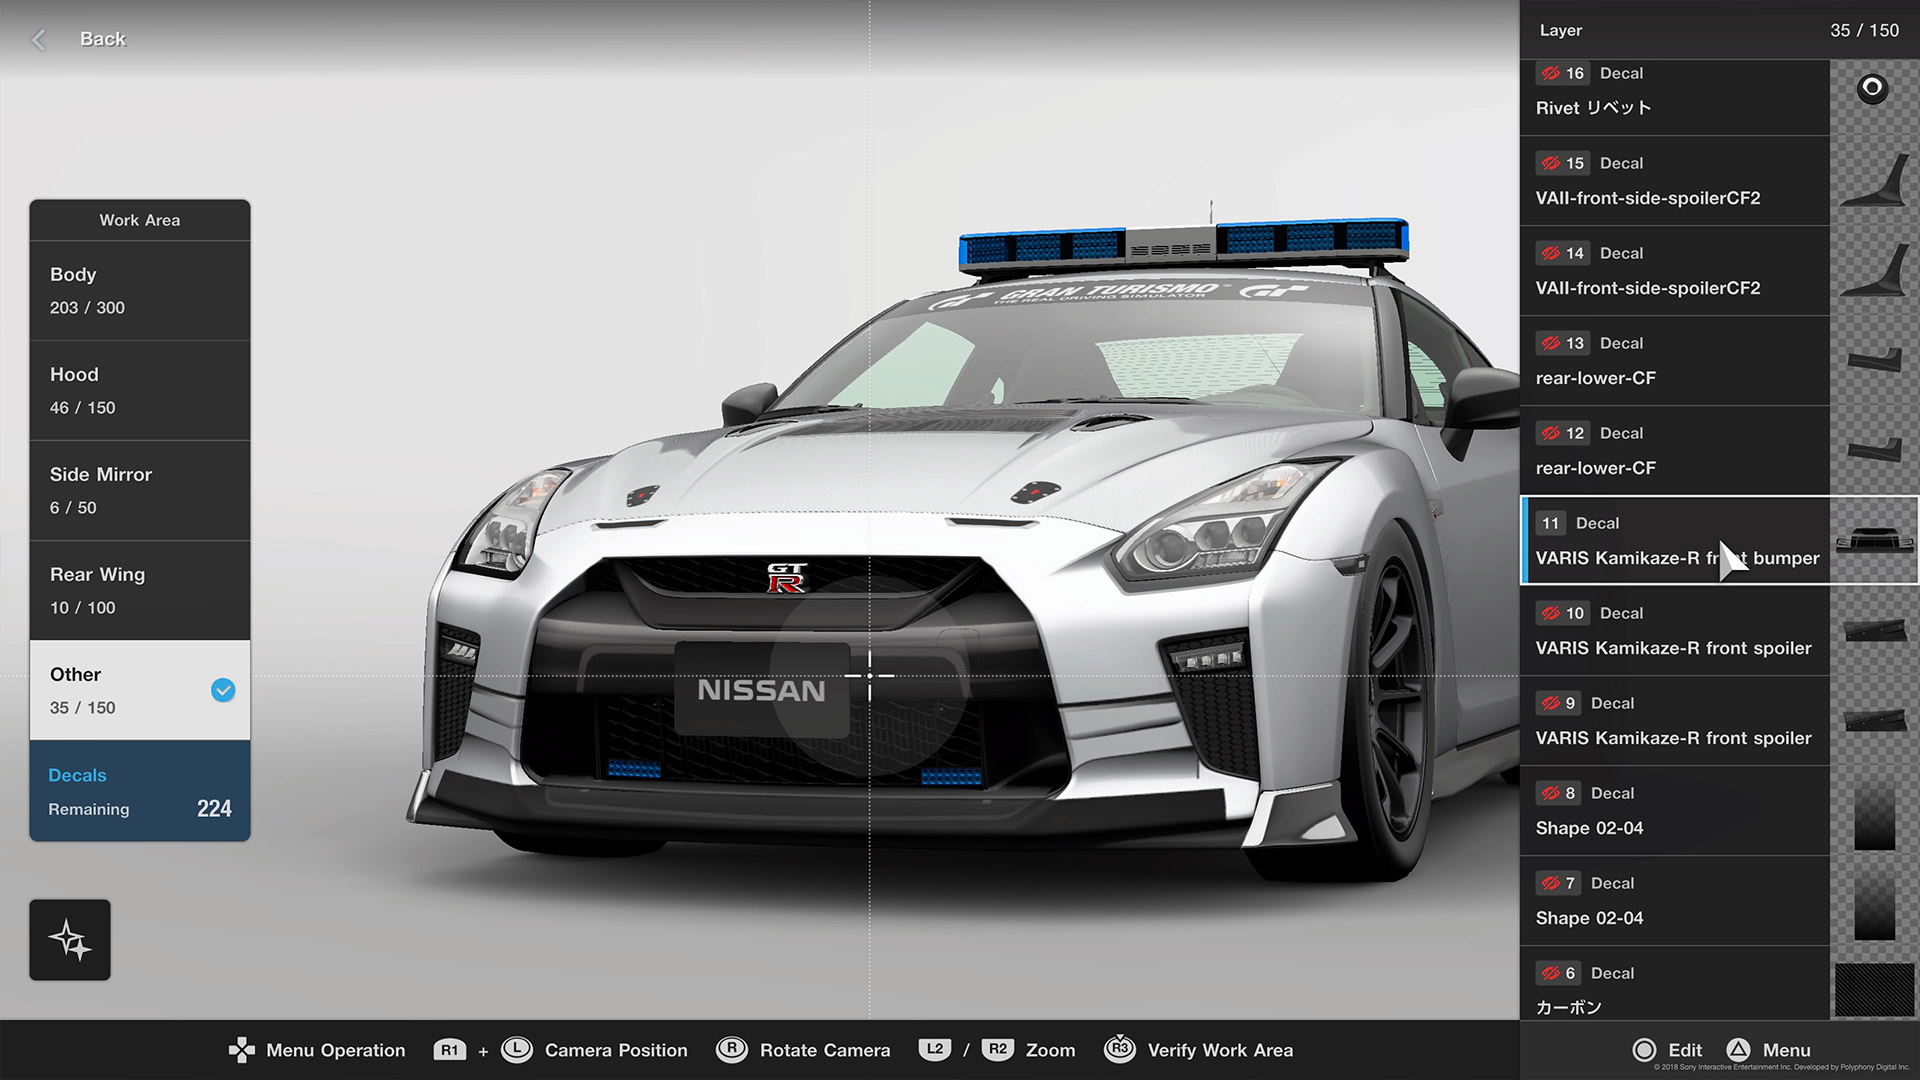
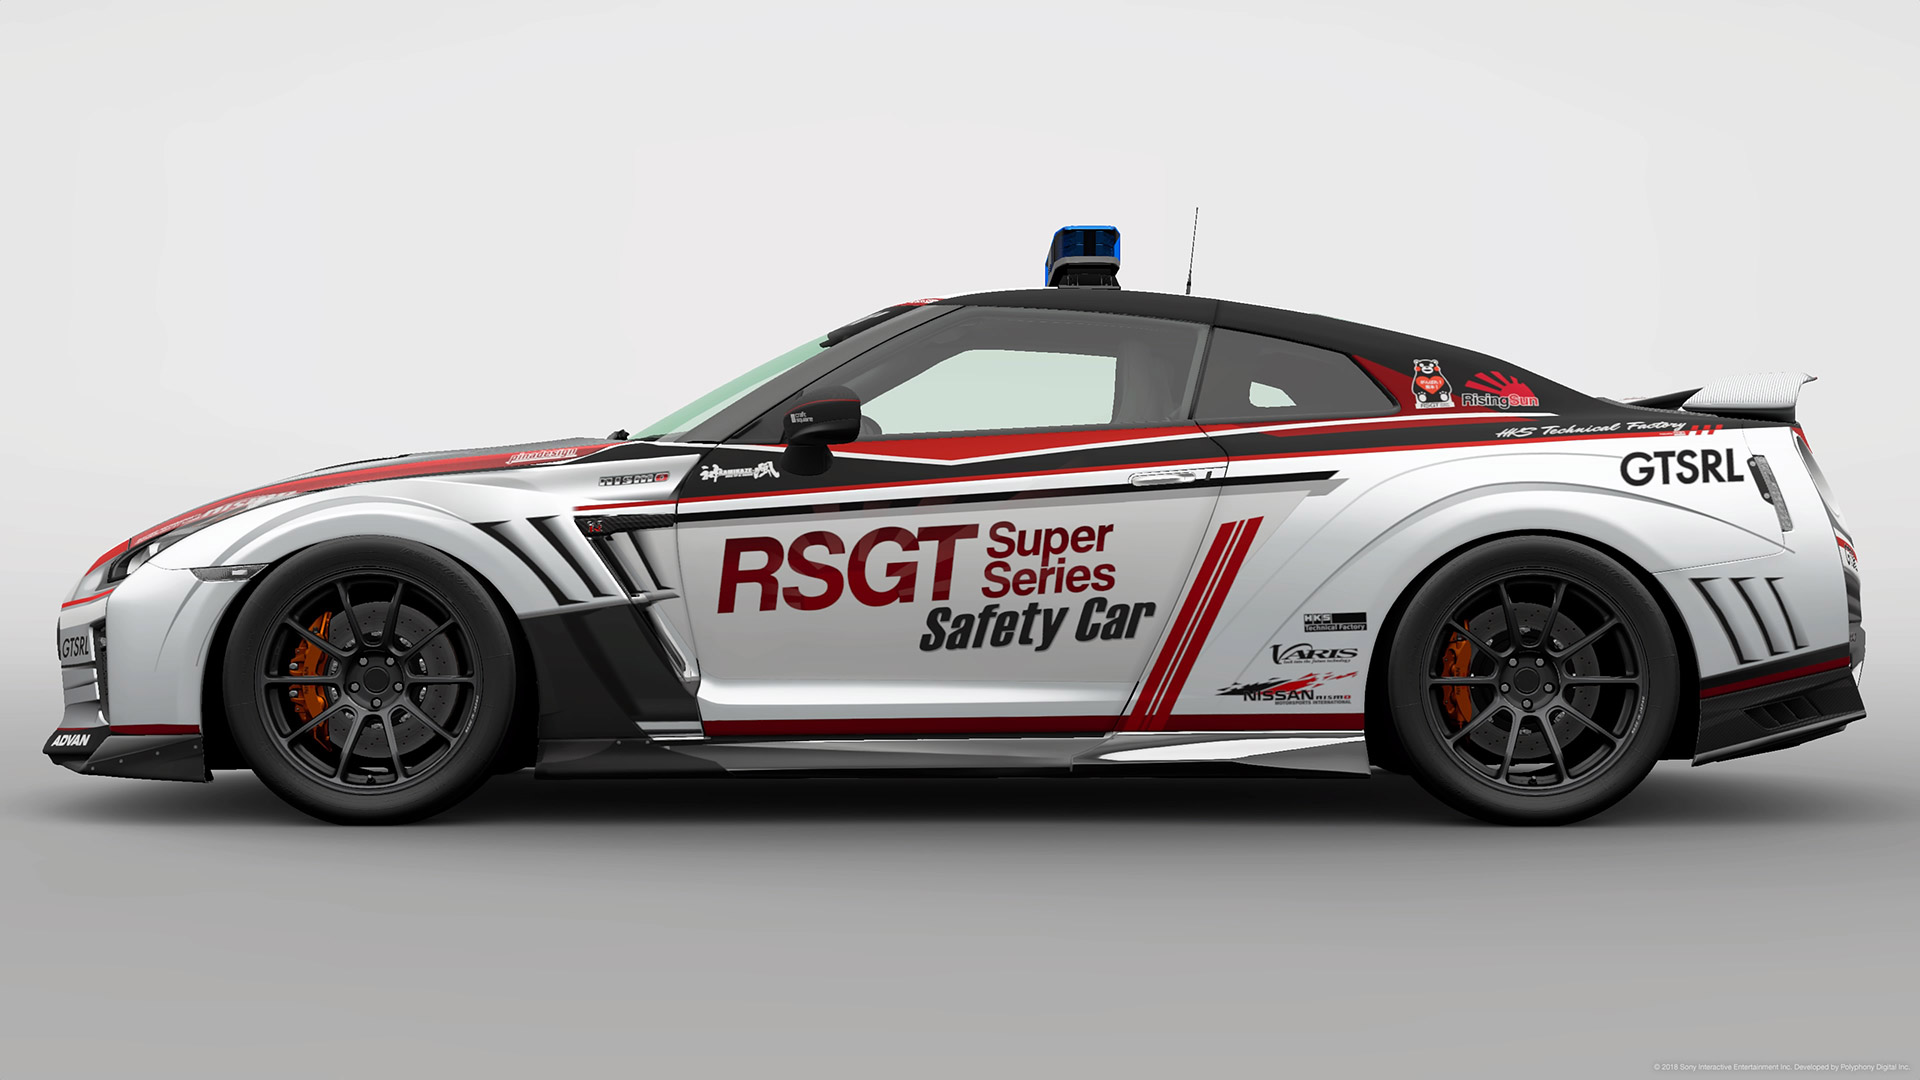
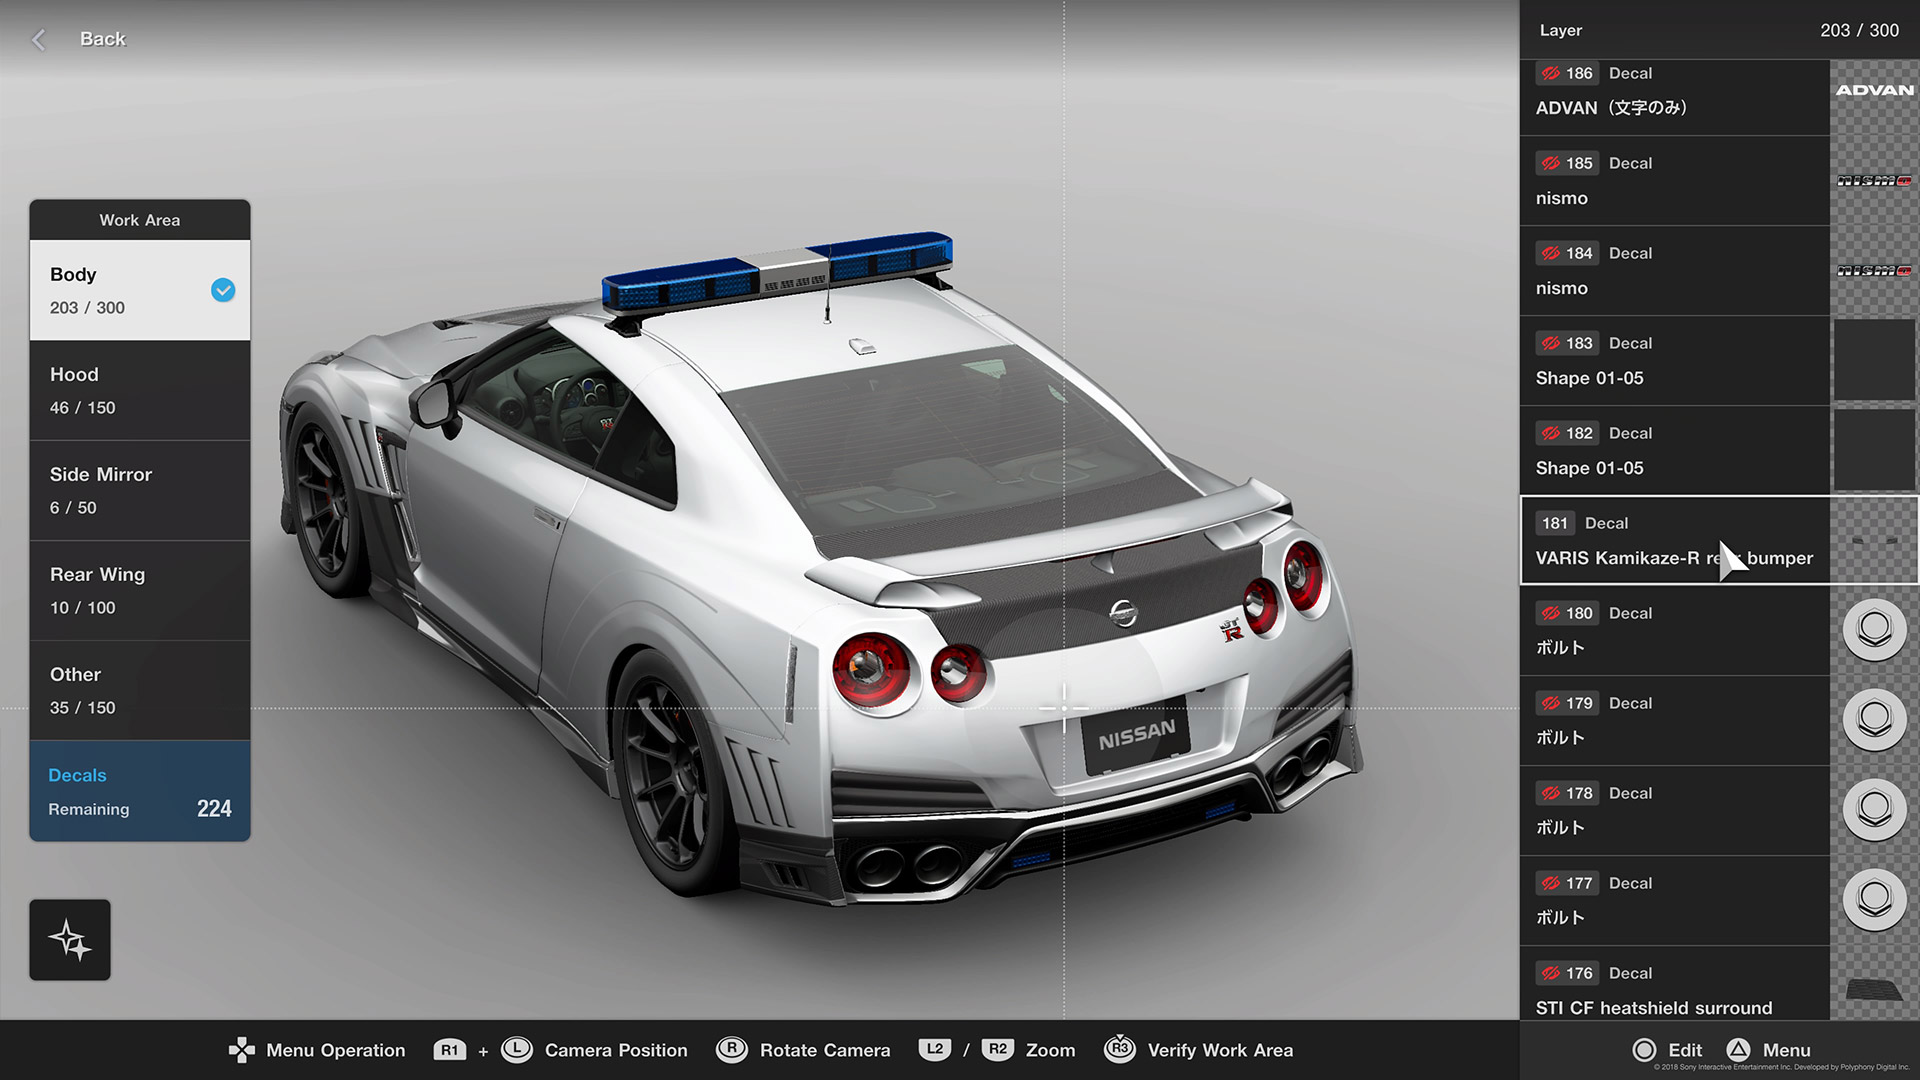
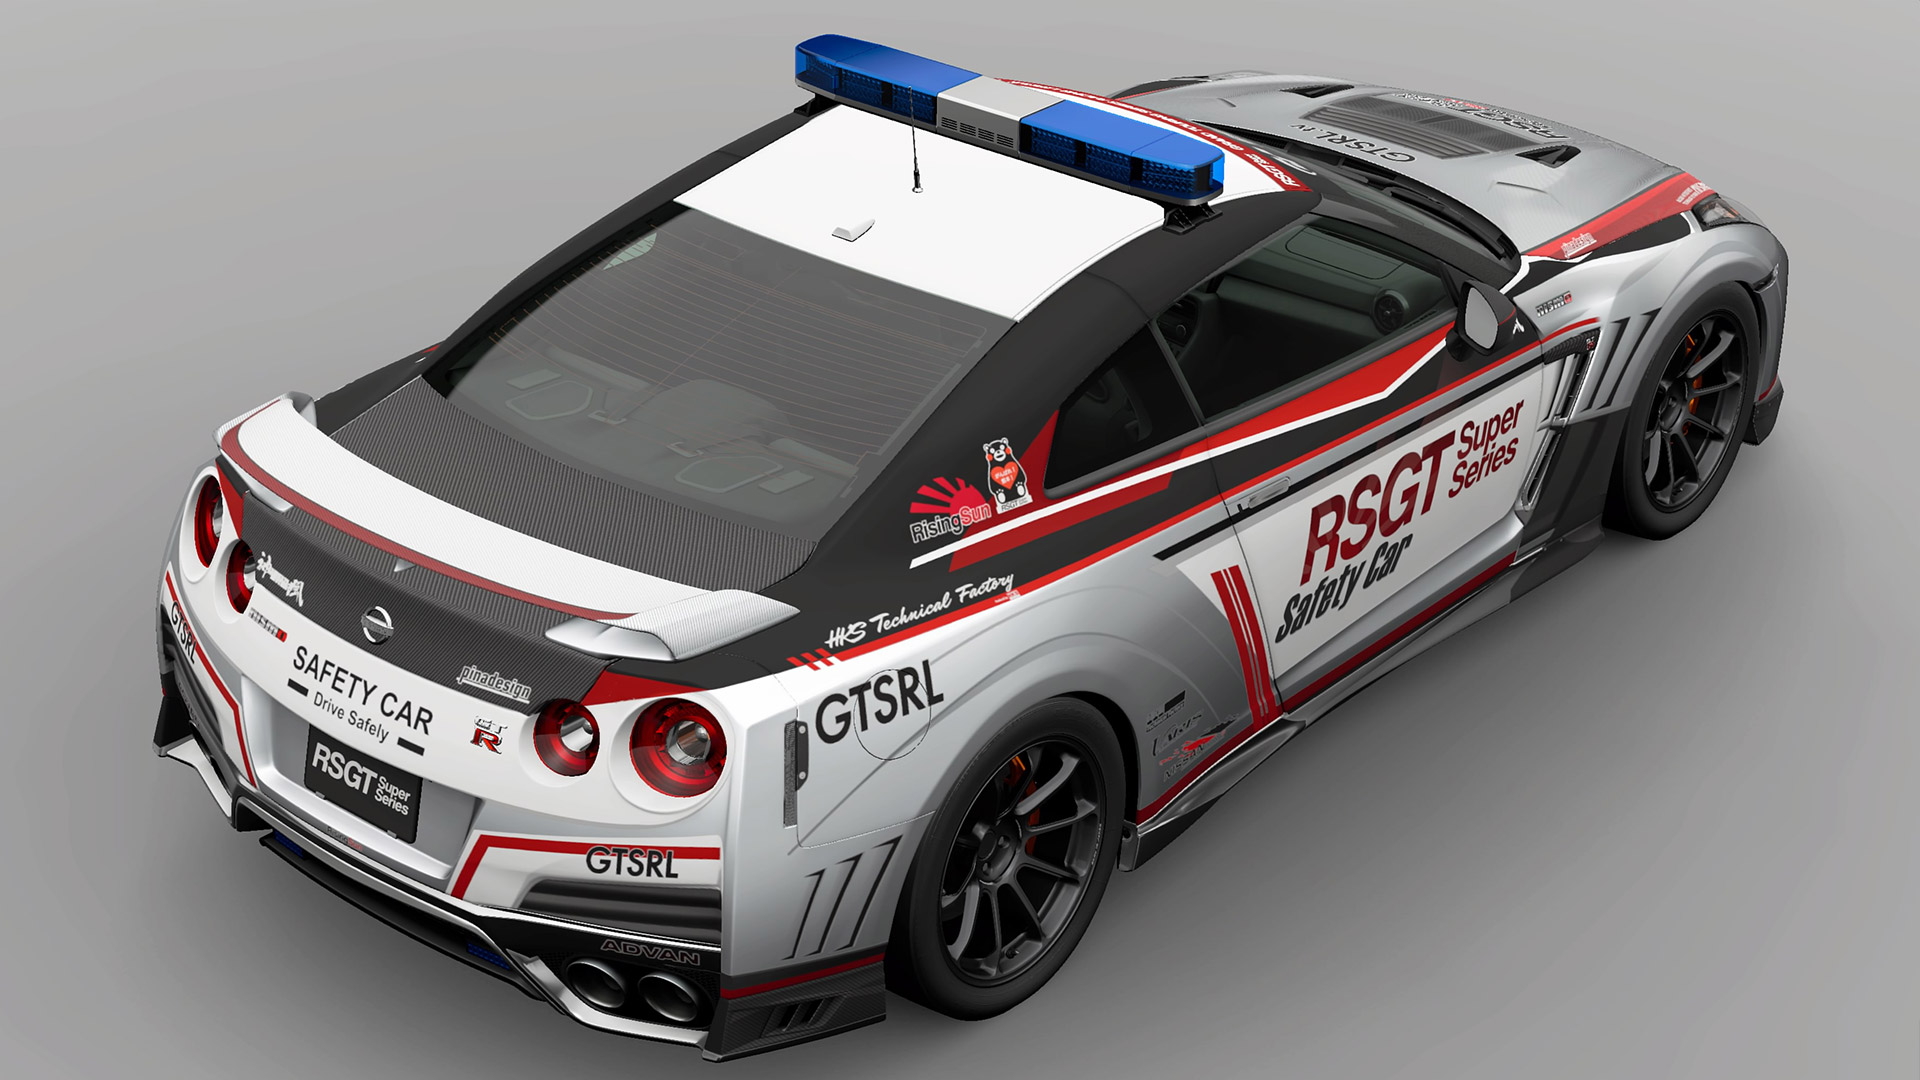
In this first part we will be looking at car body effects and detail work and then move forward into the graphics and striping of the livery. Today we will be using the Nissan GTR Safety Car and going over the GTSRL RSGT Safety Car Livery.
Parts for this kit
At the bottom of this post, you will find a parts library section that contains direct links to the majority of the parts used to build this livery. Most of them are parts that I custom built for the R35 Nissan GTR and are modelled after the Varis / HKS Technical Factory collaboration project car - The Kamikaze-R. One quick note about this specific decal set is that I designed it for use with mid to bright tone paints and prefer to use it on metallic or maybe even chrome or flake paint. Certain Pearl Paints should work, but there are several Real World Paints that dont handle gradients very well, so please use your judgement.
Some of the others were created by a Japanese designer, Onyonyo1125. Onyo san is a true master of body kit and detailed decals and if you havent seen his work, please do take the time to pay his gallery a visit. He is, in my humble opinion, the BEST body work decal creator out there and he's a really great guy to chat to as well.
A few things to keep in mind as we get going.
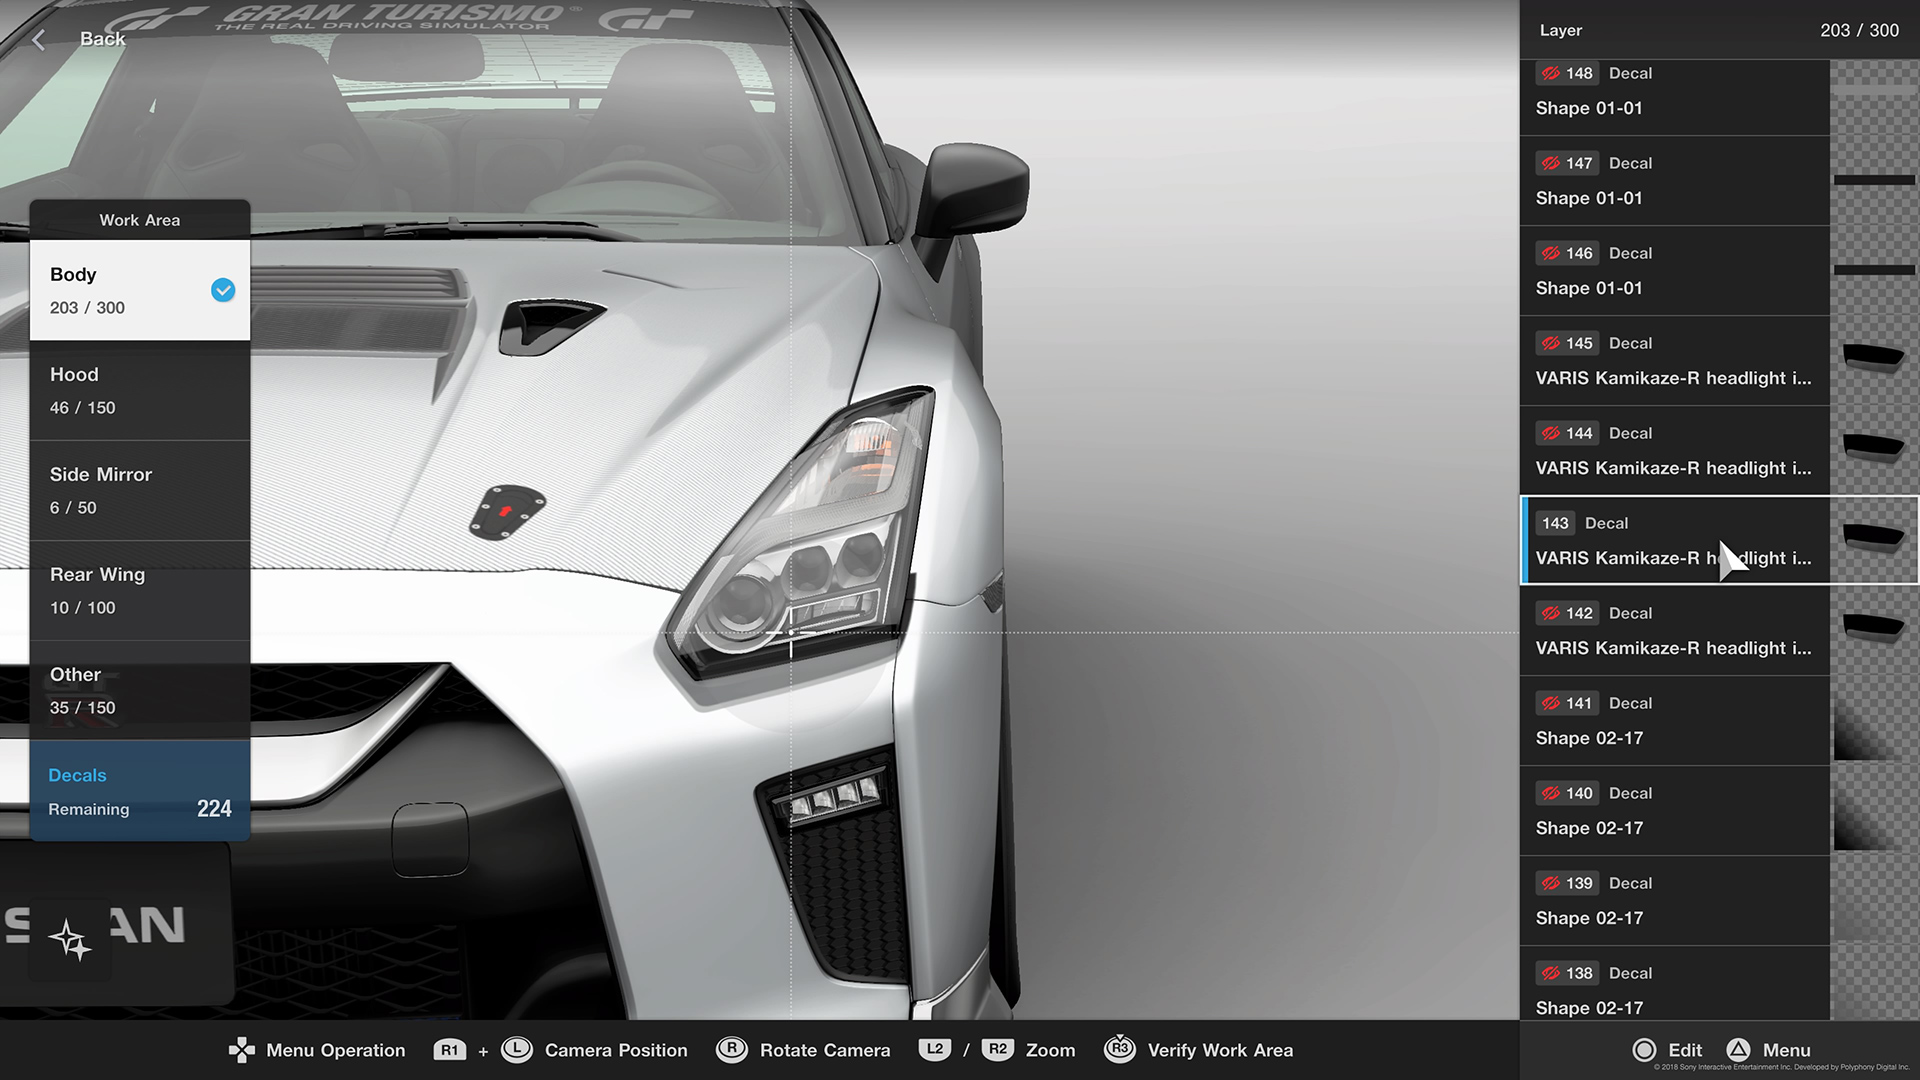
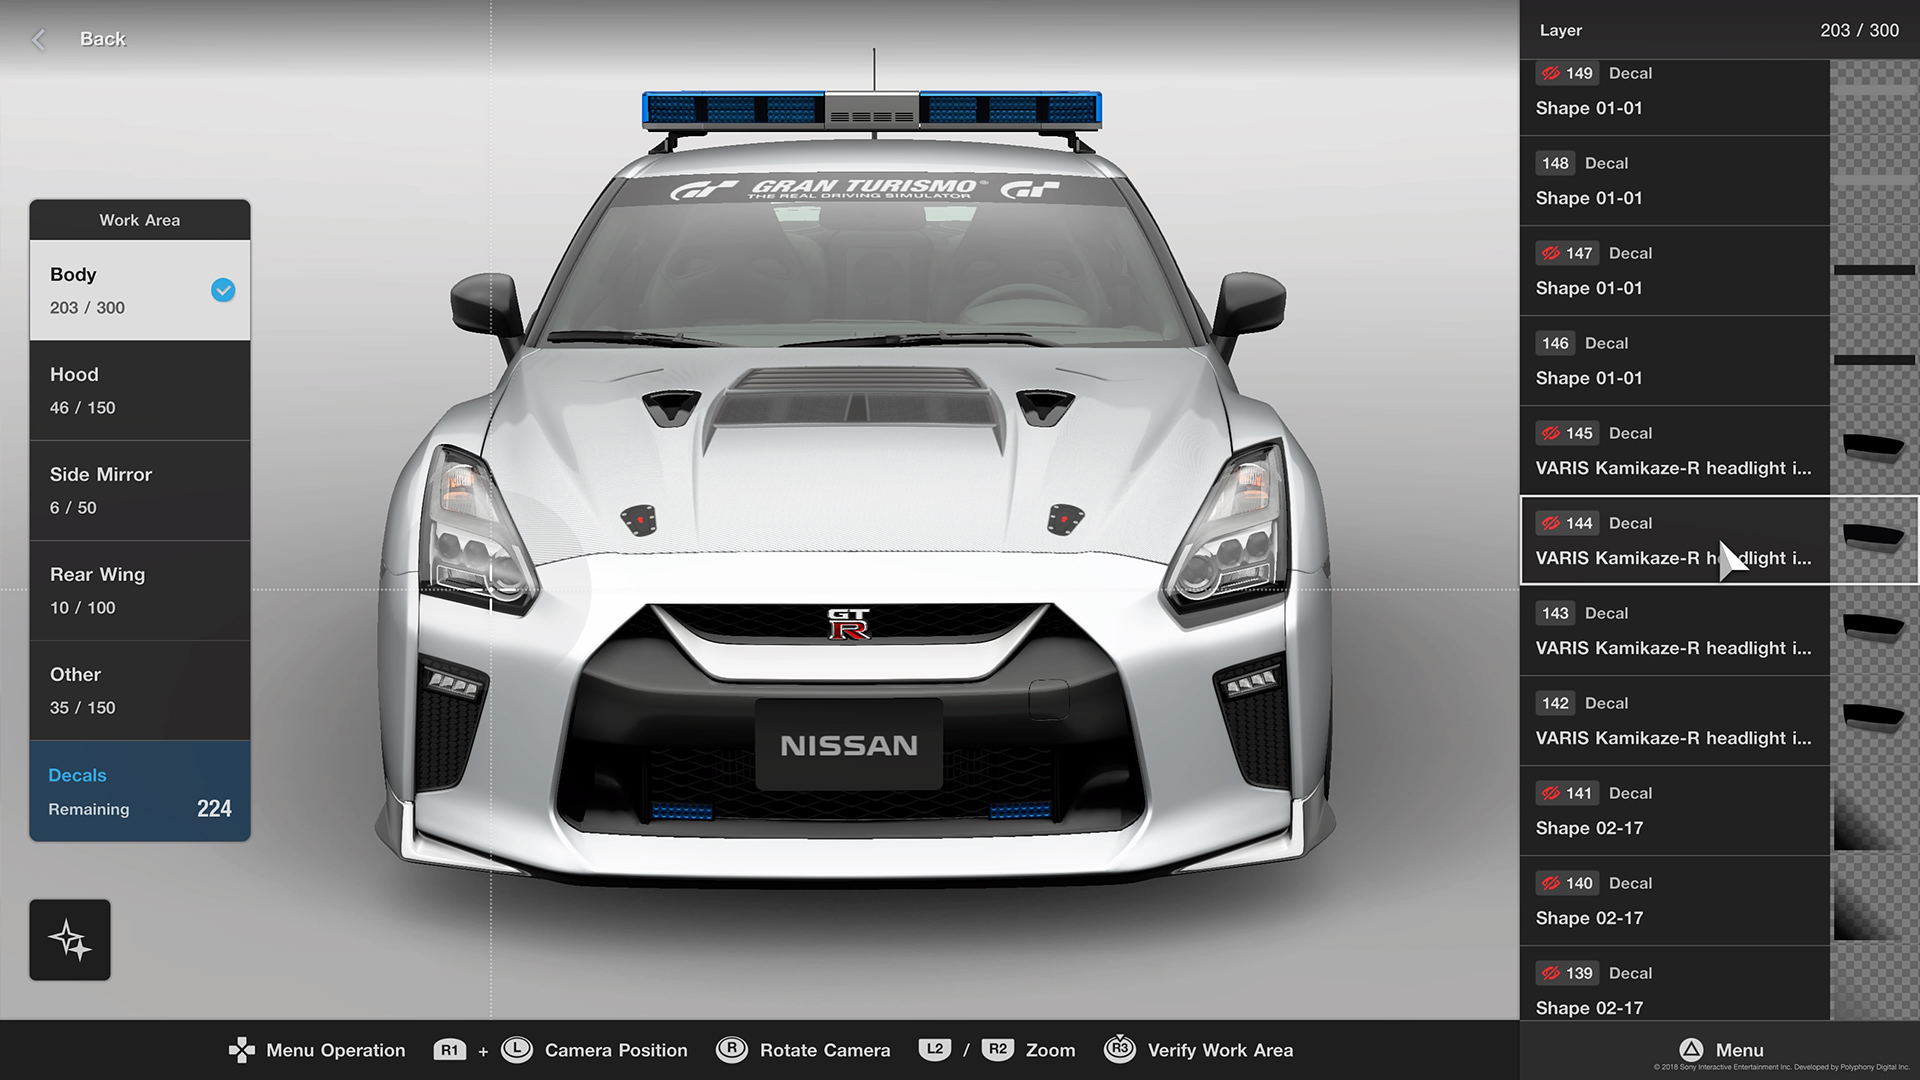
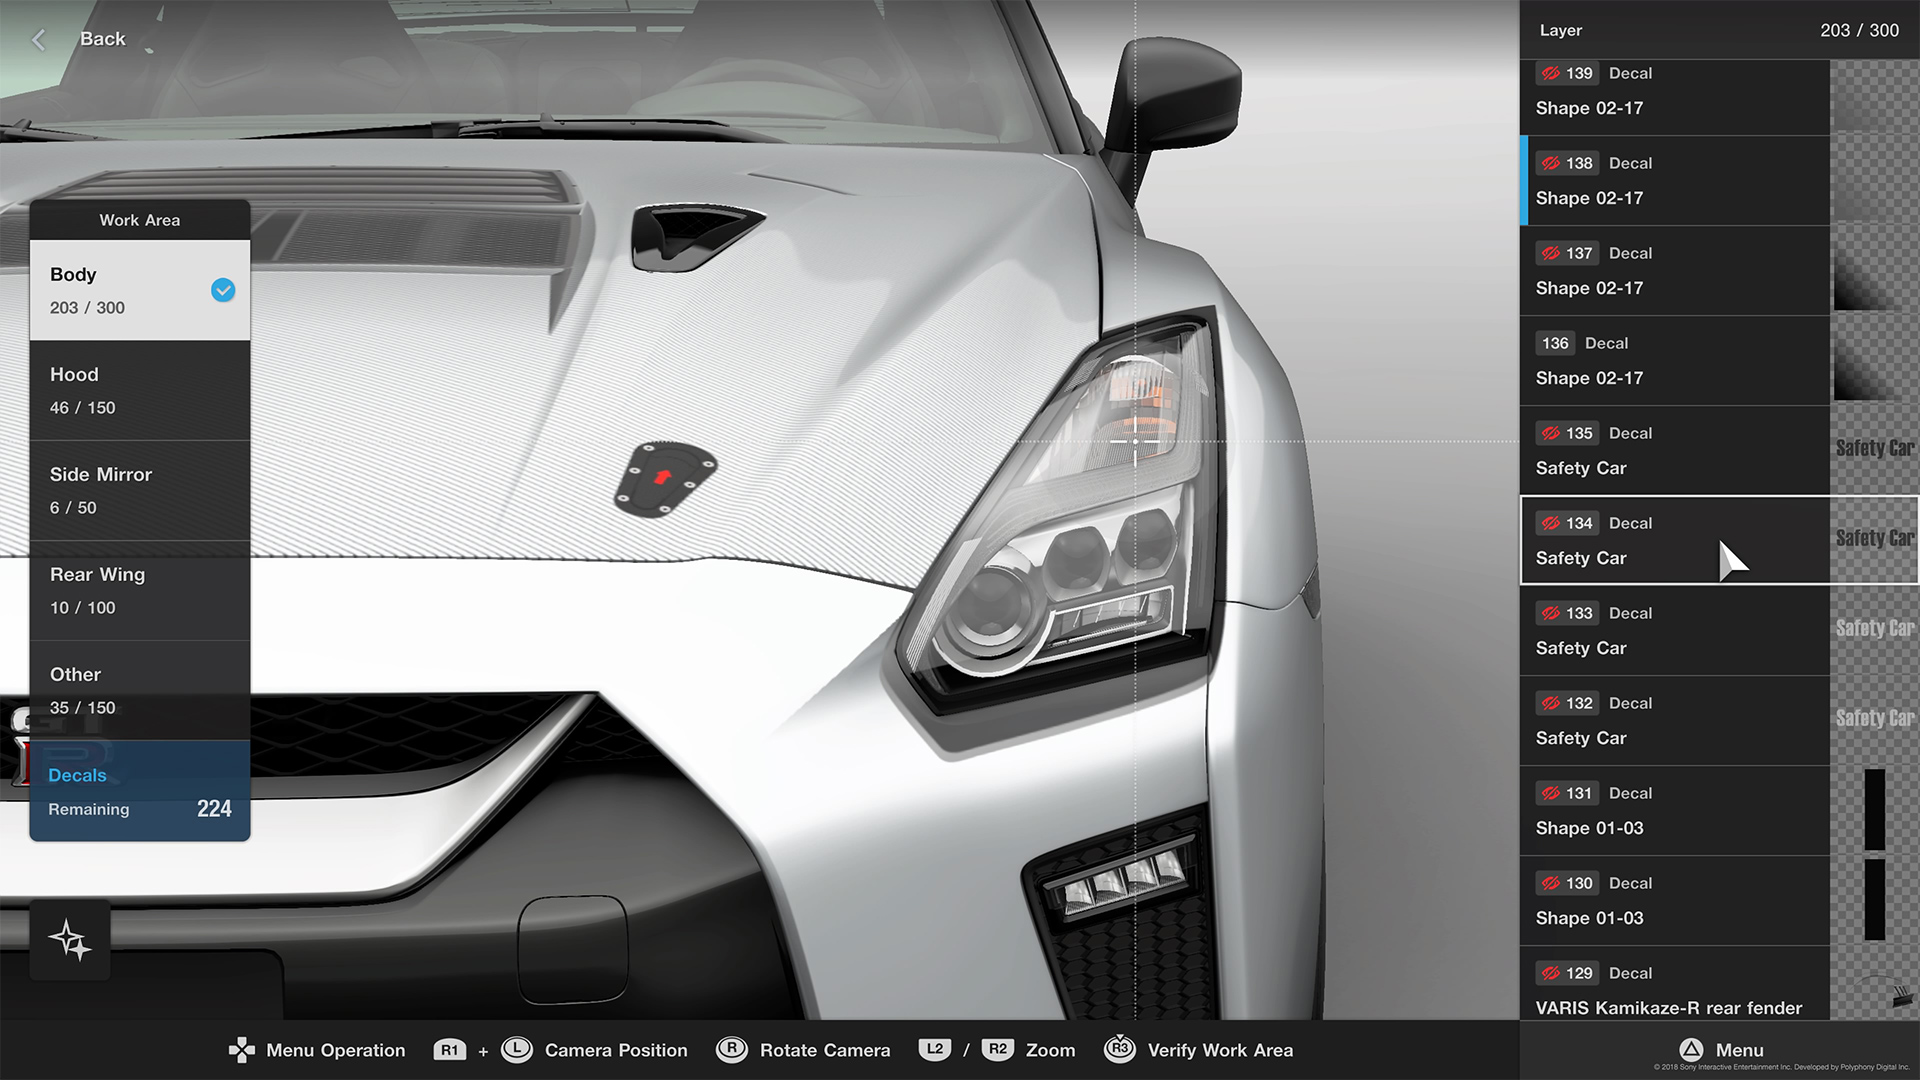
In much of this tutorial, I will be assuming that you have a reasonable understanding of how to use the Gran Turismo Sport Livery Editor's tools. While this is not exactly an advanced level tutorial, you will need to understand how the editor's align to camera and align to surface modes work and how those modes affect how decals are applied.
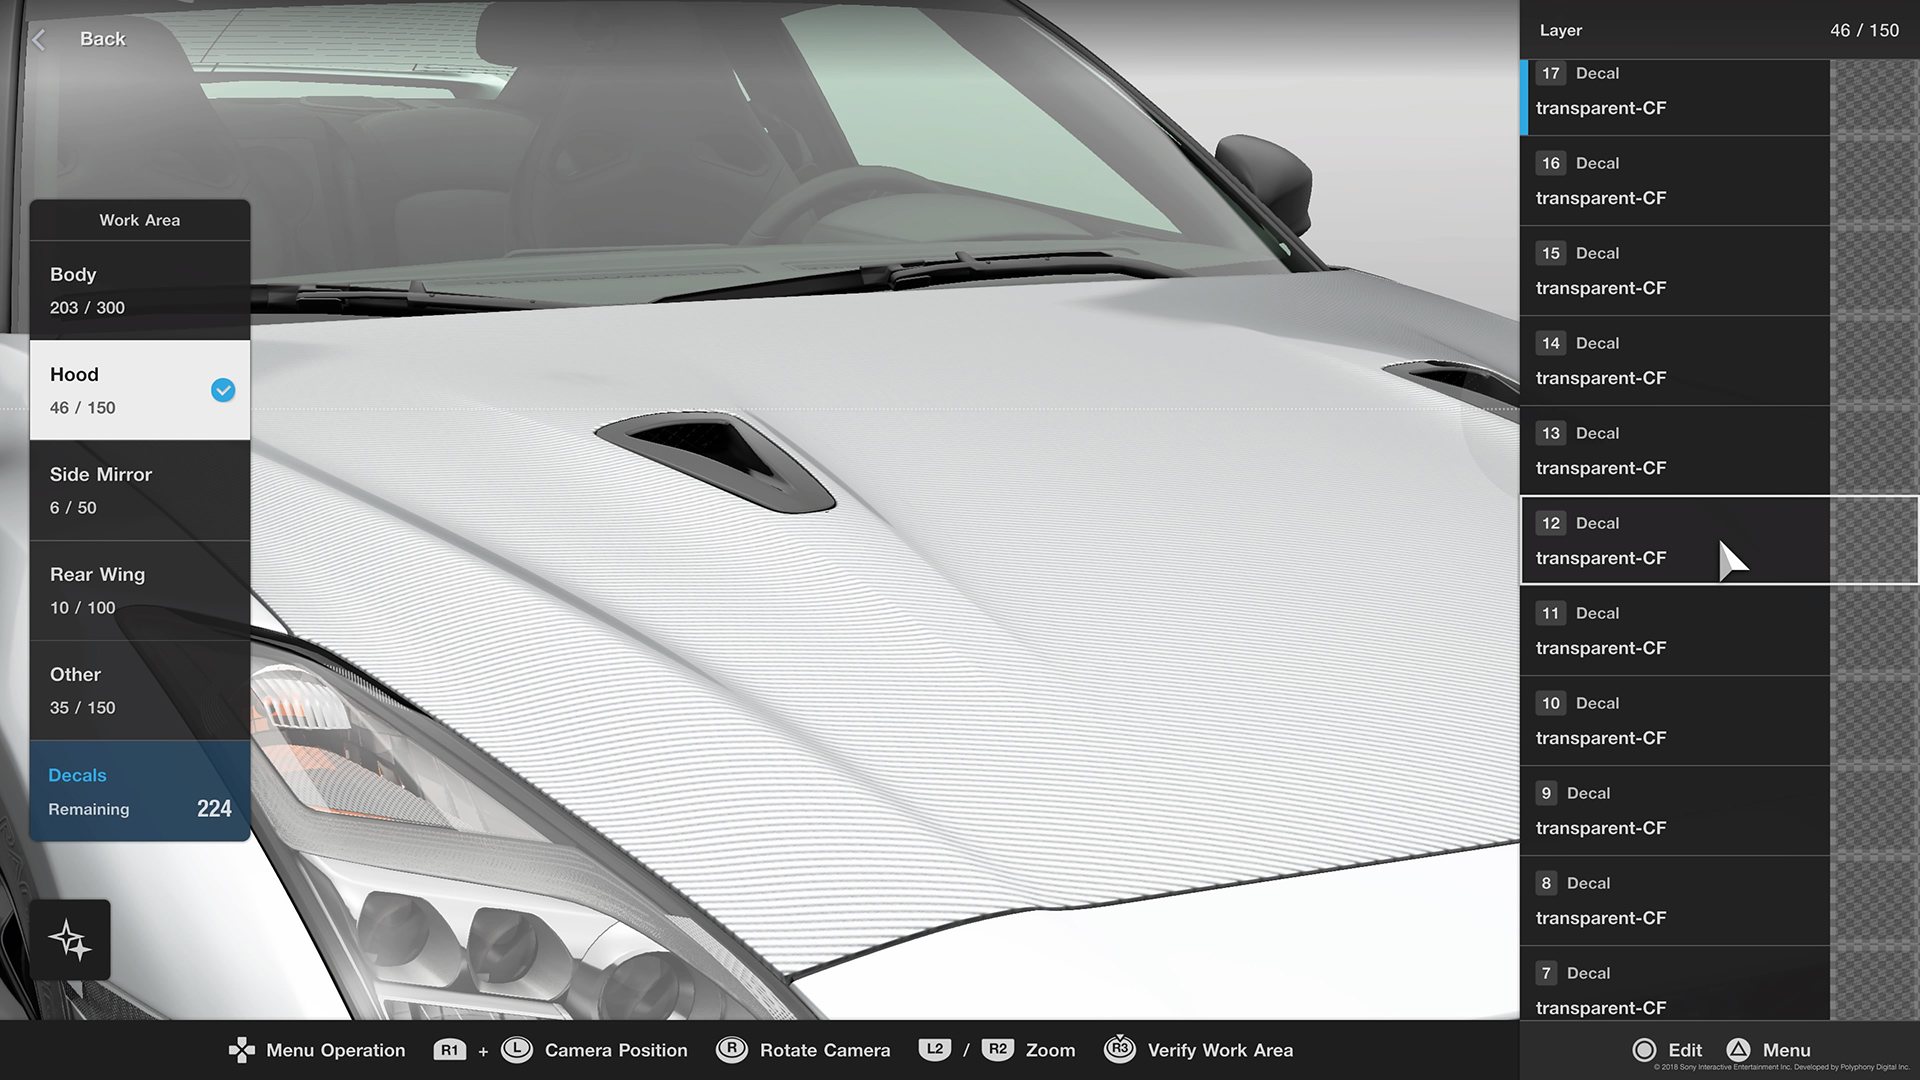
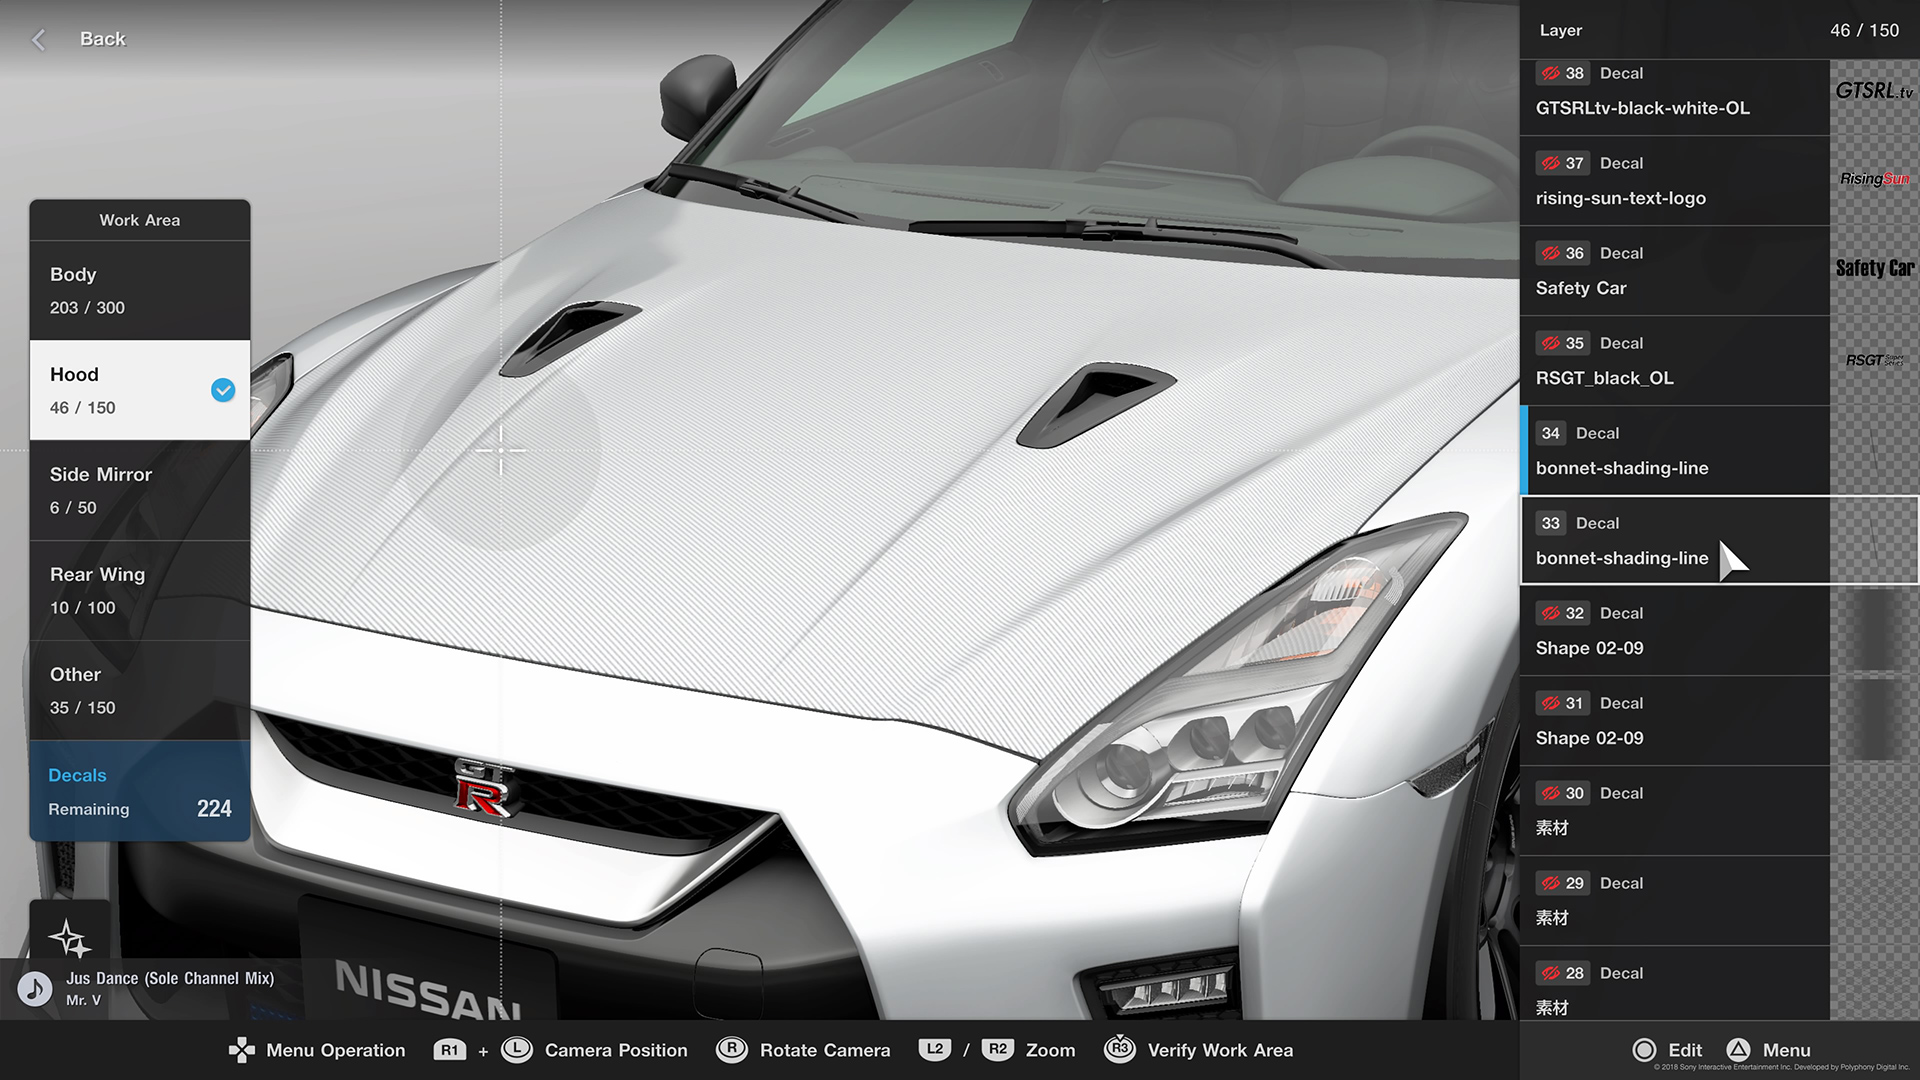
In this tutorial, when I mention stacking I am refering to duplicating a layer - usually this is followed by a slight modification to the lower most layer in the stack. One final note before we get into all this - I tend to use the 'powdered' decal texture setting because it provides the darkest black tones and tends to work best for applying realistic effects
Subtle Lines and outright trickery.
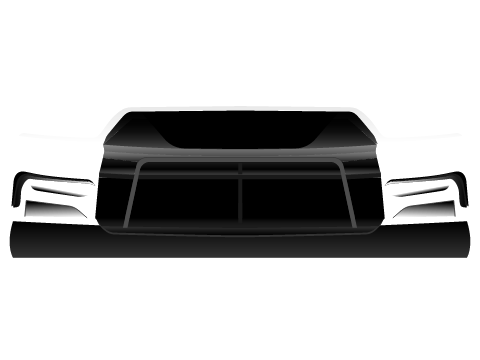
Figure 1: Start at the eyes. Place the headlight surround decal and align it to fit.
Duplicate the decal to make the effect darkerEnhance contrast and dimension
While it's not a rule - I tend to start working on my liveries at the headlights and work from the front towards the back. Headlights are very much like a person's eyes and they typically help setup the rest of the visual cues for the overall style of a car. Some cars use a rounded form and use curving body lines while others have a much more angular shape and rely on sharp angles to define the overall look.
Why does a woman use eye shadow or mascara?
Simple - to provide contrast and enhance the shape of her eyes. To draw attention there.
So let's begin by using a couple of tricks to enhance the area that surrounds the headlights. I start by using a decal that I've built specifically for this purpose - the headlight surround decal. In align to camera mode, I place it and size it to fit into the area at the lower front part of the headlamps [figure 1]. Make sure you zoom in so that you can see where the lines meet the existing body, as this is crucial to building believable effects. Specifically, note the alignment point at the joint of the bonnet and the left side of the headlamp.
I then continue with the right side and top of the headlight by adding a black line and shapes to complete the effect [figure 2]. Note that to further enhance the idea that there is an edge here, you can duplicate the layer and then change the underlying layer's color to a lighter tone while offsetting its position slightly.
In order to provide a little more depth to the lower corner of the headlights and bonnet, I add a simple gradient triangle [figure3]. This shape is flipped around and slightly skewed to fit the body and then stacked (duplicated and offset). Because the layer is semi-transparent, you may stack up additional copies to further darken the effect. Use your judgment on when its dark enough. Just remember that we want to be subtle. [figure 4].
Figure 2:
Add contrasting shapes to the right side and top of the headlamp.
Stack, color, offset
Figure 3:
Adding a gradient triangle for effect
Figure 4:
Stacking and offset to create an edge
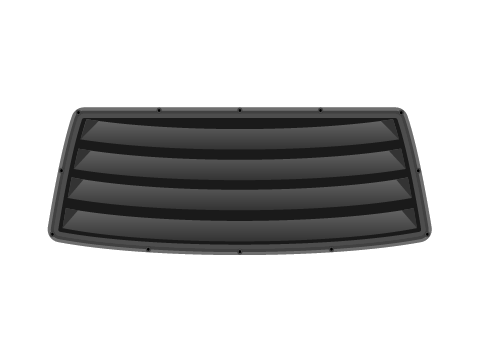
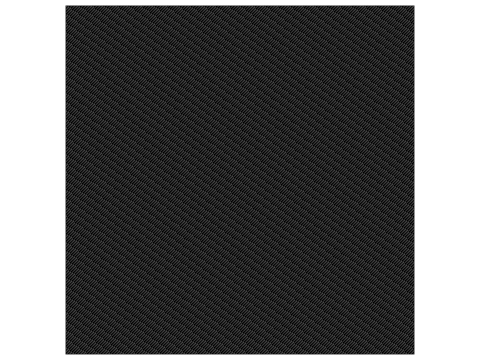
Figure 5: Transparent Carbon Pattern for the win The top photo is a tiled pattern that keeps the pattern line width tight. The lower photo is a single pattern decal stretched over the entire hood. Dont do this, mmmmkay?
The bonnet - time to rock some carbon effects
I love having a carbon or kevlar look on my bonnet so I'm going to do a quick walkthough of how I go about it and then we'll get into placing some vents and shading to spice it up a bit.
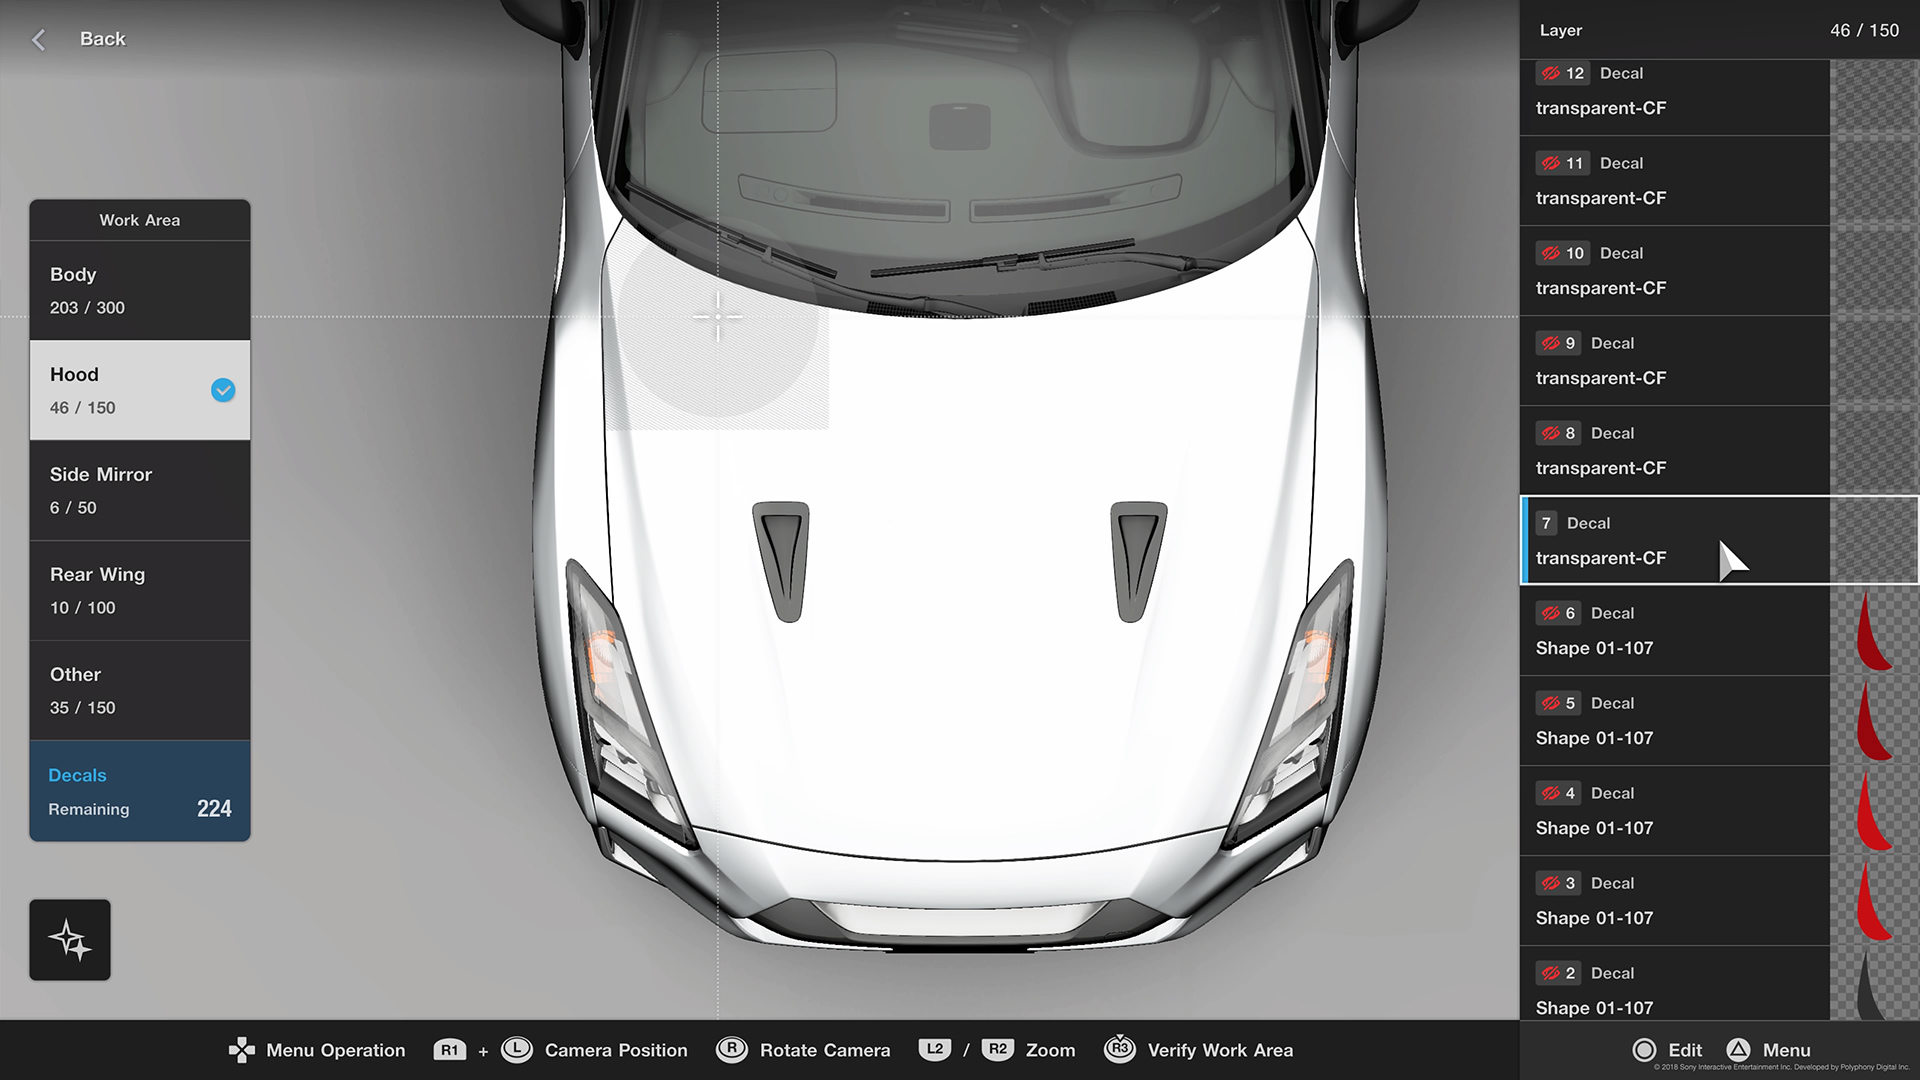
I've made a wide variety of carbon fiber patterns to fit different situations. Sometimes I use a dark carbon pattern decal but for the GTR here, I am going to use one that is a bit more unique. Its a transparent pattern that allows you to place other decals under it or change the underlying paint to give it different effects. You can also change the color of this decal to match up underlying paint or to give it a different effect.
The trick to having a realistic carbon effect comes down to the size of the pattern. As such, its rather difficult to use a single decal and stretch it to cover the entire hood. Usually the pattern becomes too spaced out and just doesnt look right. So, while it is more work, we are going to tile the pattern into place
Starting in the upper left corner of the bonnet, use align to camera and place a single decal and size it until the line width looks right. [figure 6] You MUST use align to camera if you are going to tile decals - otherwise, the decal will warp with the underlying body and you'll never get them to line up correctly.
Once you've got that in place, simply duplicate the layer and slide it until the pattern matches up. You may need to slightly offset the copied layer to get the pattern to appear seamless. [figure 7]
Just make sure that you do not rotate, zoom, or skew the copied layer. It must remain the exact same size as the original layer to maintain the pattern line width. Continue to copy move and adjust the CF decals until you've covered the entire bonnet or convered the area that you want.
Figure 6:
CF decal placement and sizing
Figure 7:
CF decal tiling: duplicate, move, match the pattern without overlap or gaps
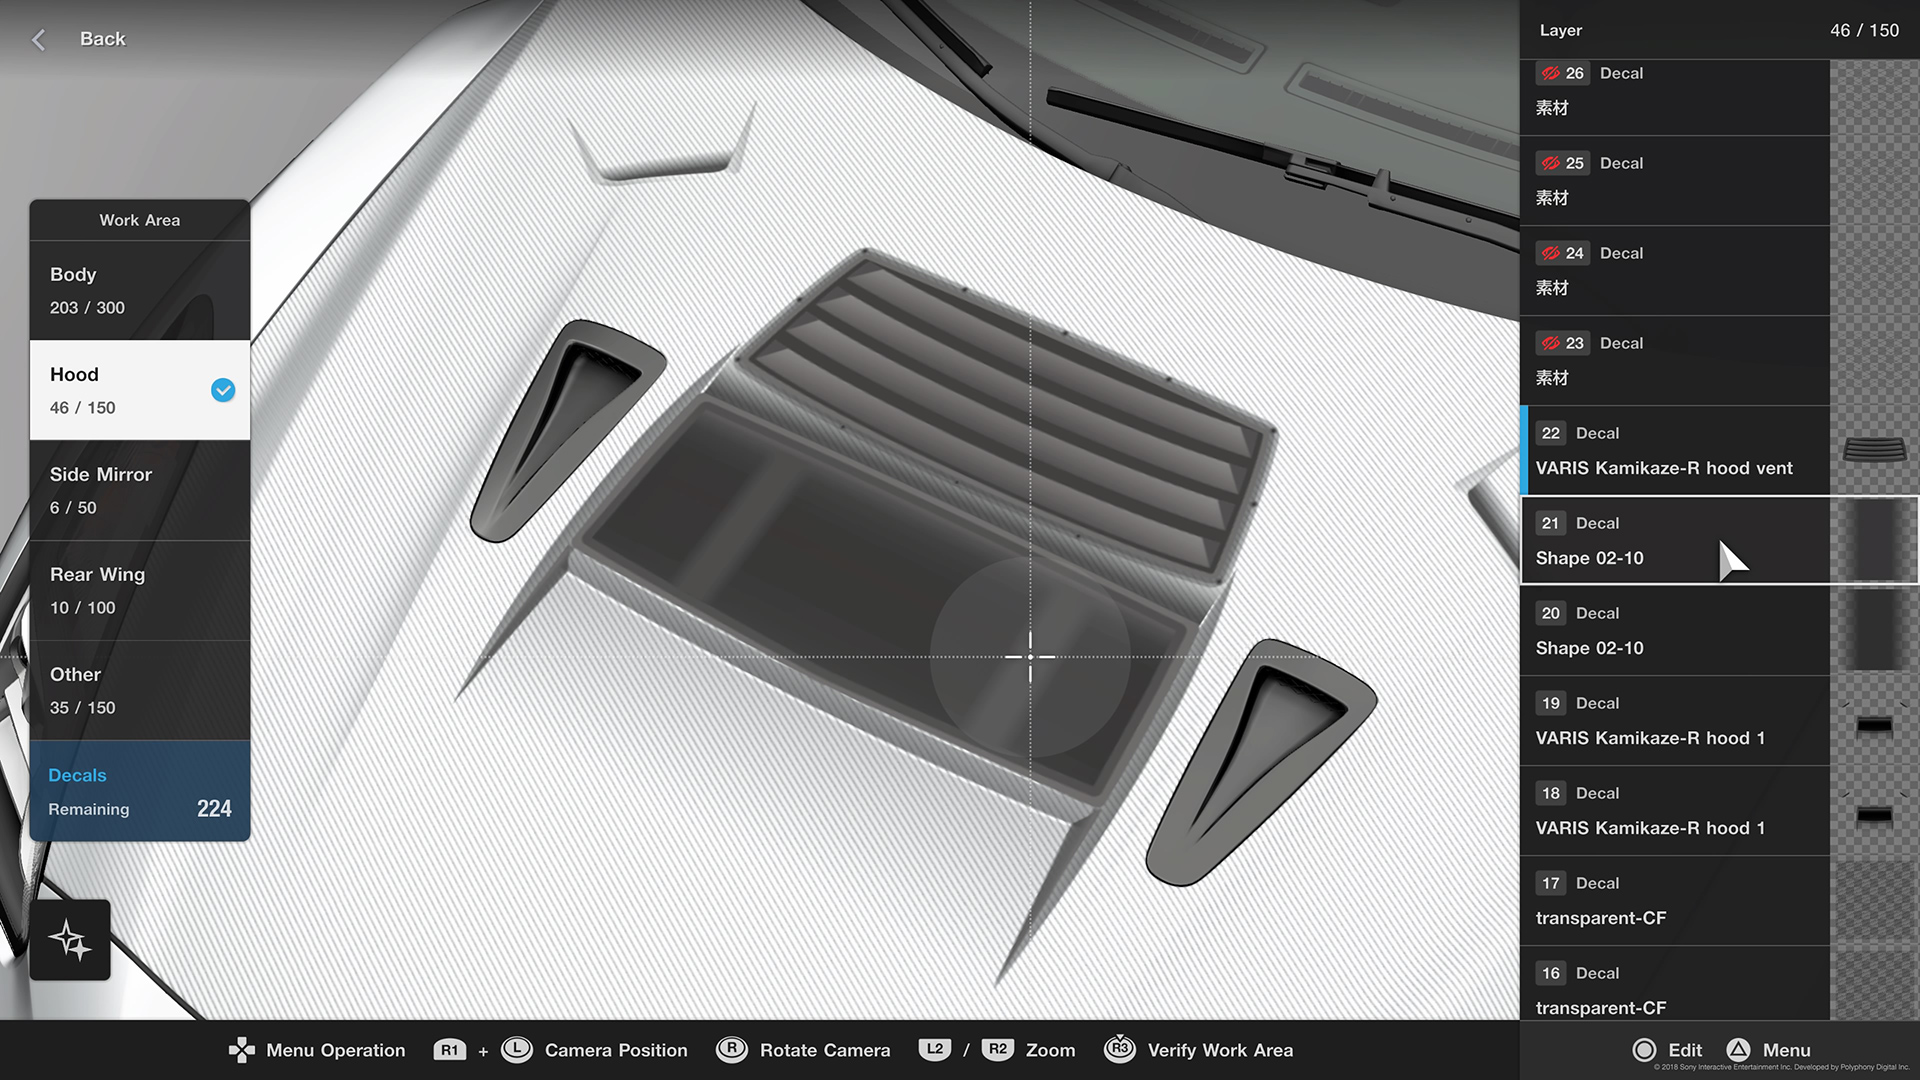
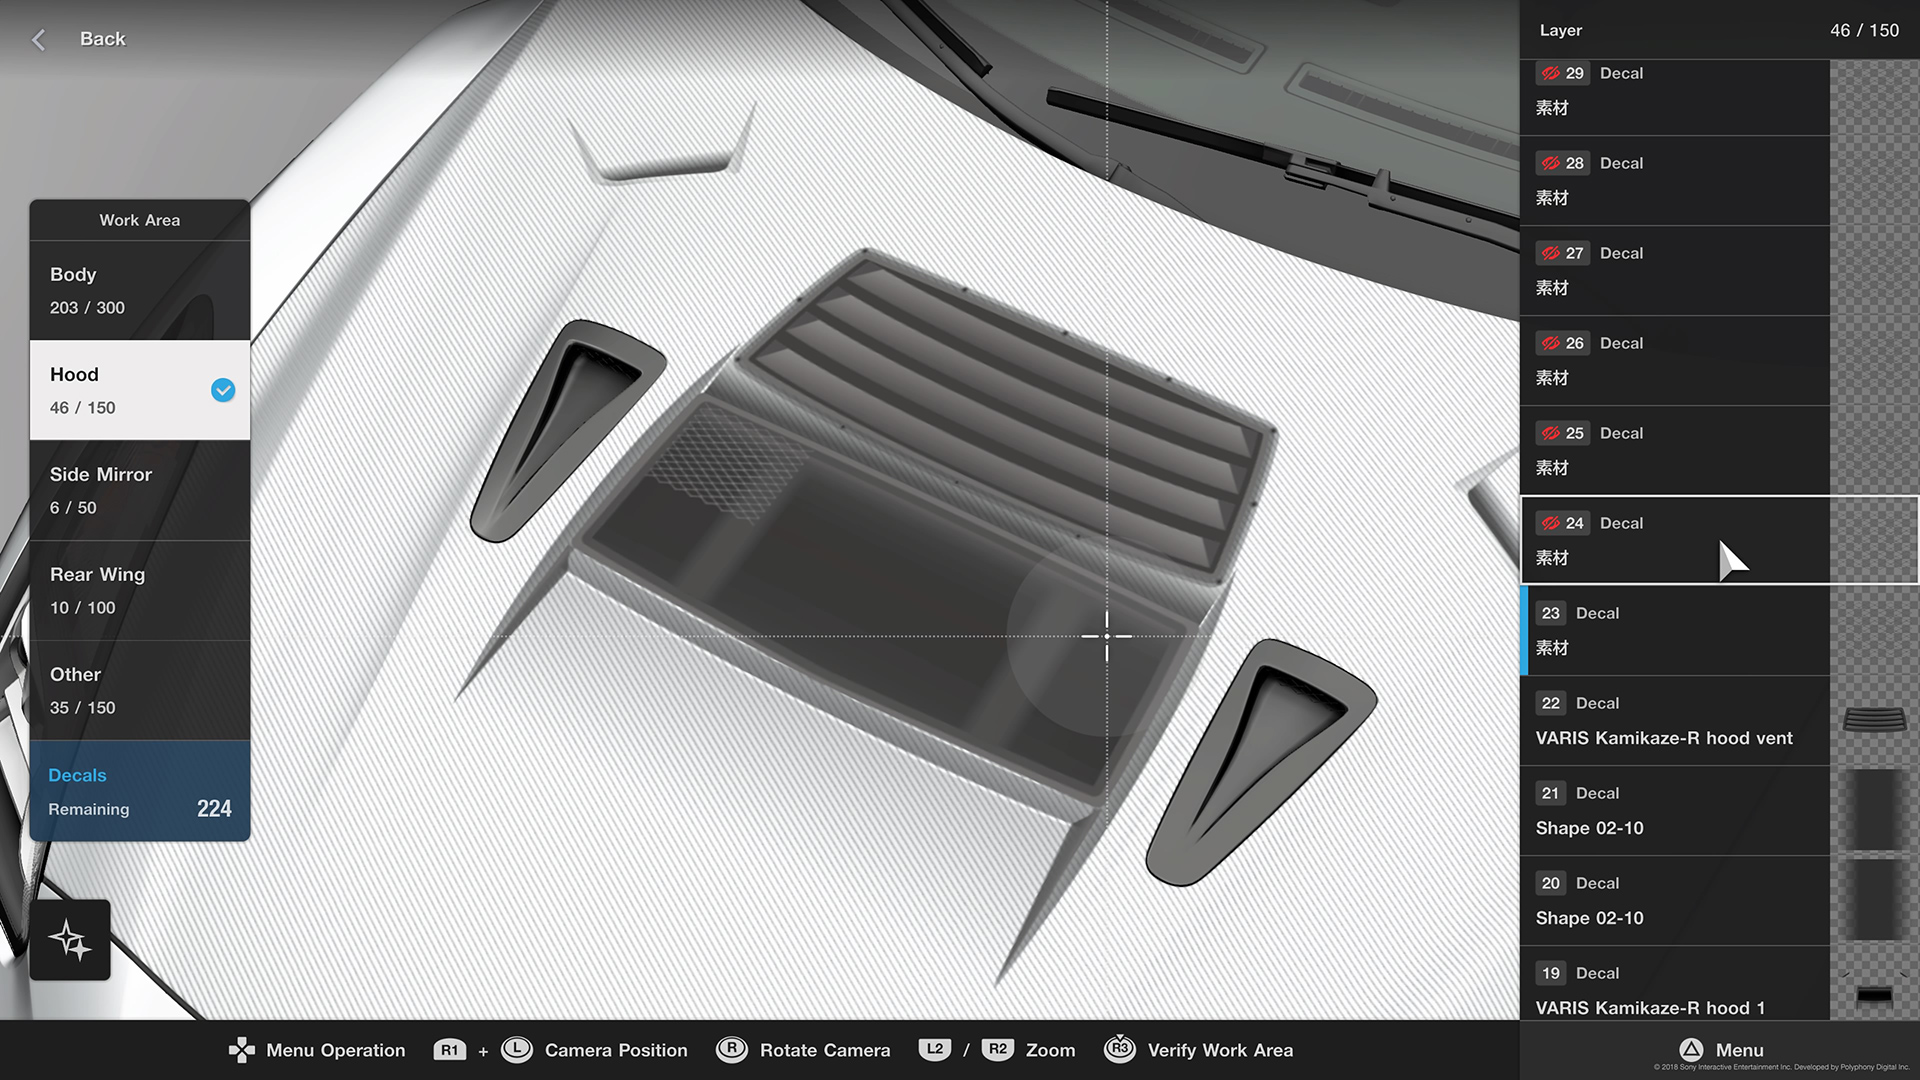
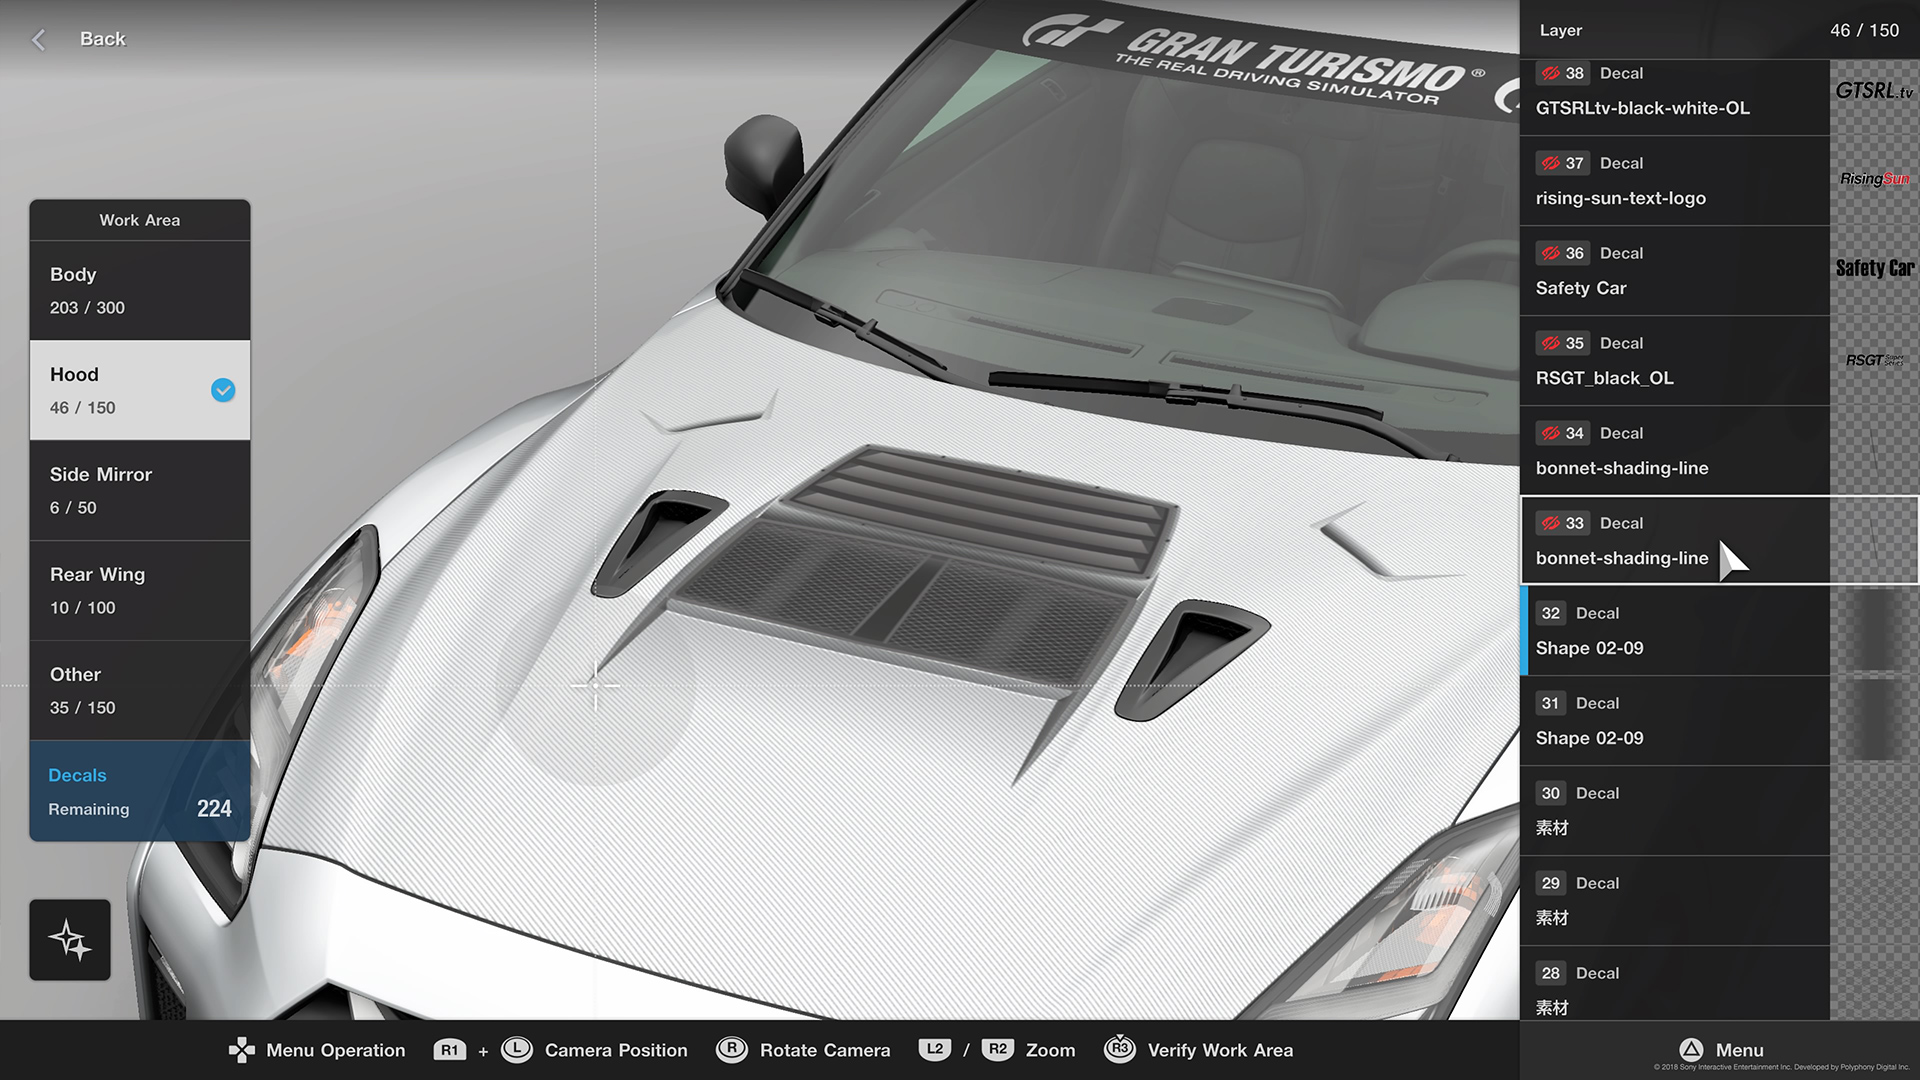
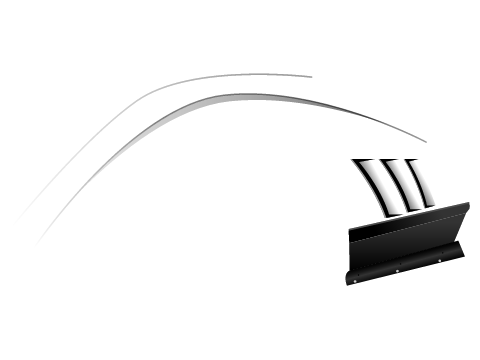
Placing bonnet vents and adding contour lines.
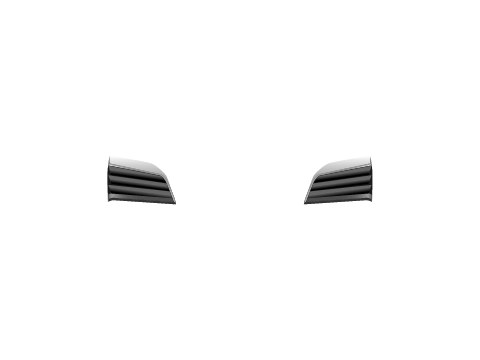
The Kamikaze-R bonnet kit is split into two parts - the main center vent with two corner vents and a separate decal for the louvered duct that goes behind the center one. I start by placing the main vent on the bonnet in a position that looks good and size it to fit. Please note, that for this decal, I am going to place it UNDER the transparent CF decals applied in the previous step to allow the CF effect to overlay the main vents as well. As the main vent decal is semi-transparent as well, I duplicate it to make it darker.
Next we add the secondary louvered duct directly above the main vents and size it to fit. This decal is placed above the CF layer as it should appear as if it is on top of everything else. To finish out the black hole we now have in the center of the bonnet, I am going to overlay some wire mesh in that area and tile it to fit as much as possible. However, before I tile in the mesh, I'm going to add a couple of wide gradients that will act as a hint that there's something under the mesh.[Figure 9] We want to subtly give the feel that you are looking down into the engine bay and not just a dark space so we use a color tone that is just a shade or two above the black on the vent.
As we start to tile the mesh in, [Figure 10] we are going to run into a slight problem as the center vent has an angle but the mesh decal is square.[Figure 11] Not a big deal, lets just fill in the open area with a couple of gray gradient lines and make it appear that there are two openings! [Figure 12]
Figure 9:
After placing the main decals in their places, add a couple of wide gradient lines to hint that there is something under the vent opening.
Figure 10:
Placing the first wire mesh decal
Figure 11:
Tile the wire mesh in toward the center and then copy to reverse each one. You will be left with a small gap in the middle.
Figure 12:
Add one more gray gradient line to act as the edge of the mesh vent area and give a more finished look. Copy to reverse to complete it.
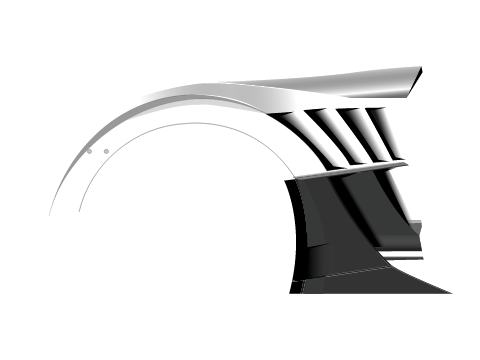
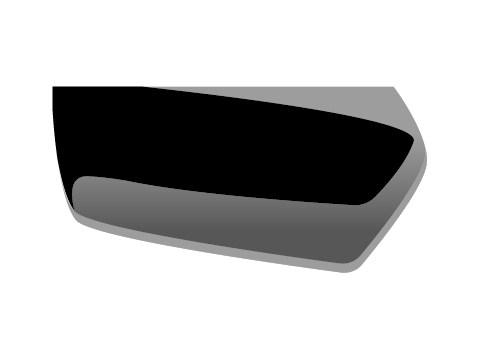
Figure 8: Placing some bonnet vents and effects This is a group of two main bodywork decals which have been overlayed with a wiremesh pattern and gradient lines for effect. Note that the bonnet contour line to the left of the black intake duct is a fake effect line as well. To retain the carbon fiber look, the main decal has actually been placed UNDER the transparent CF decal layers
Figure 13: The line indicated by the red arrow is a simple shallow curved gradient line. It can be stretched wider or pushed thinner and longer to cover any sort of hood. Reverse it for a different effect.
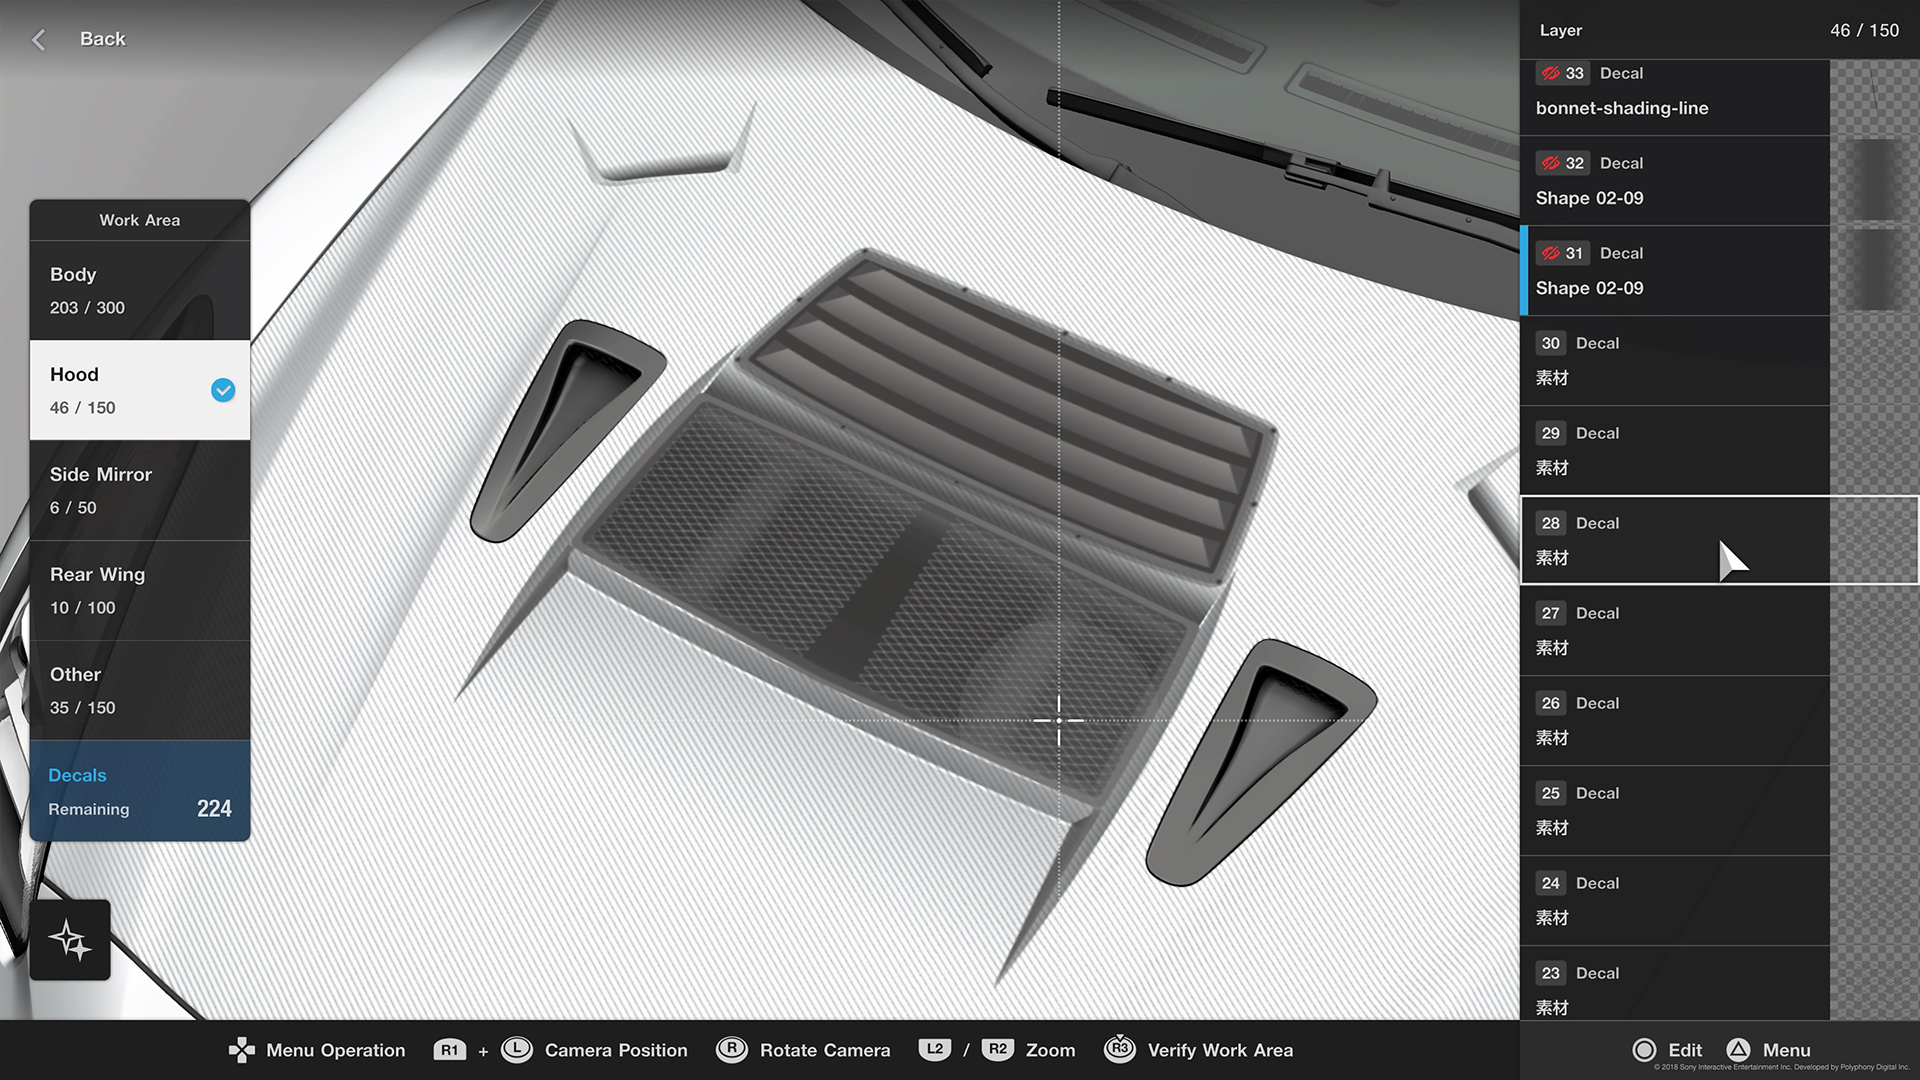
Final touchups for the bonnet
For the finishing touches on the bonnet I have added two more effect lines (Bonnet Shading Gradient Line) to give the impression that this bonnet has more contours than the original stock one. The bonnet shading gradient line is a very versatile decal and you can stretch it thicker to cast a larger shadow or keep it thin to give the impression of a highlight and shadow area. There is a slight curve built into this decal so you can also adjust the skew or change the Height to Width size ratio and give it a different look. Dont forget that you can even reverse it to make the contour appear to go the opposite direction.
Once you've found a place on the bonnet where it fits and looks natural, copy to reverse to even things out. [Figure 14]
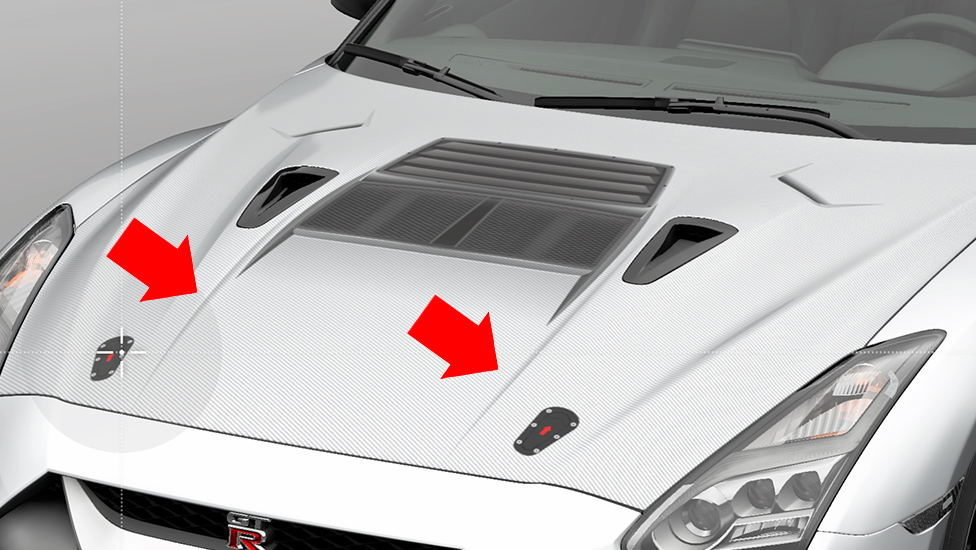
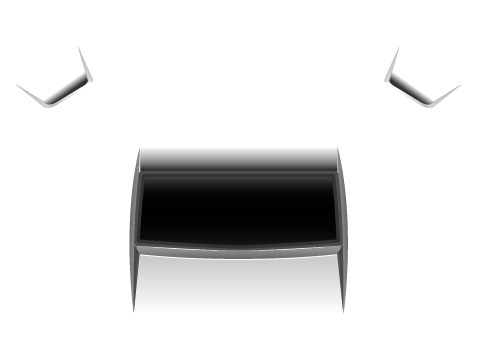
Add a couple of aerocatch style Carbon hood latches and add the red warning arrows and lets move on to the front bumper! [Figure 15]
Figure 14: This image shows the contour gradients placed with the vents and ducts removed.
Figure 15:
The completed bonnet with hood latches and warning arrows added
Join GTSRL now to take part in our events & contests!JOIN NOW
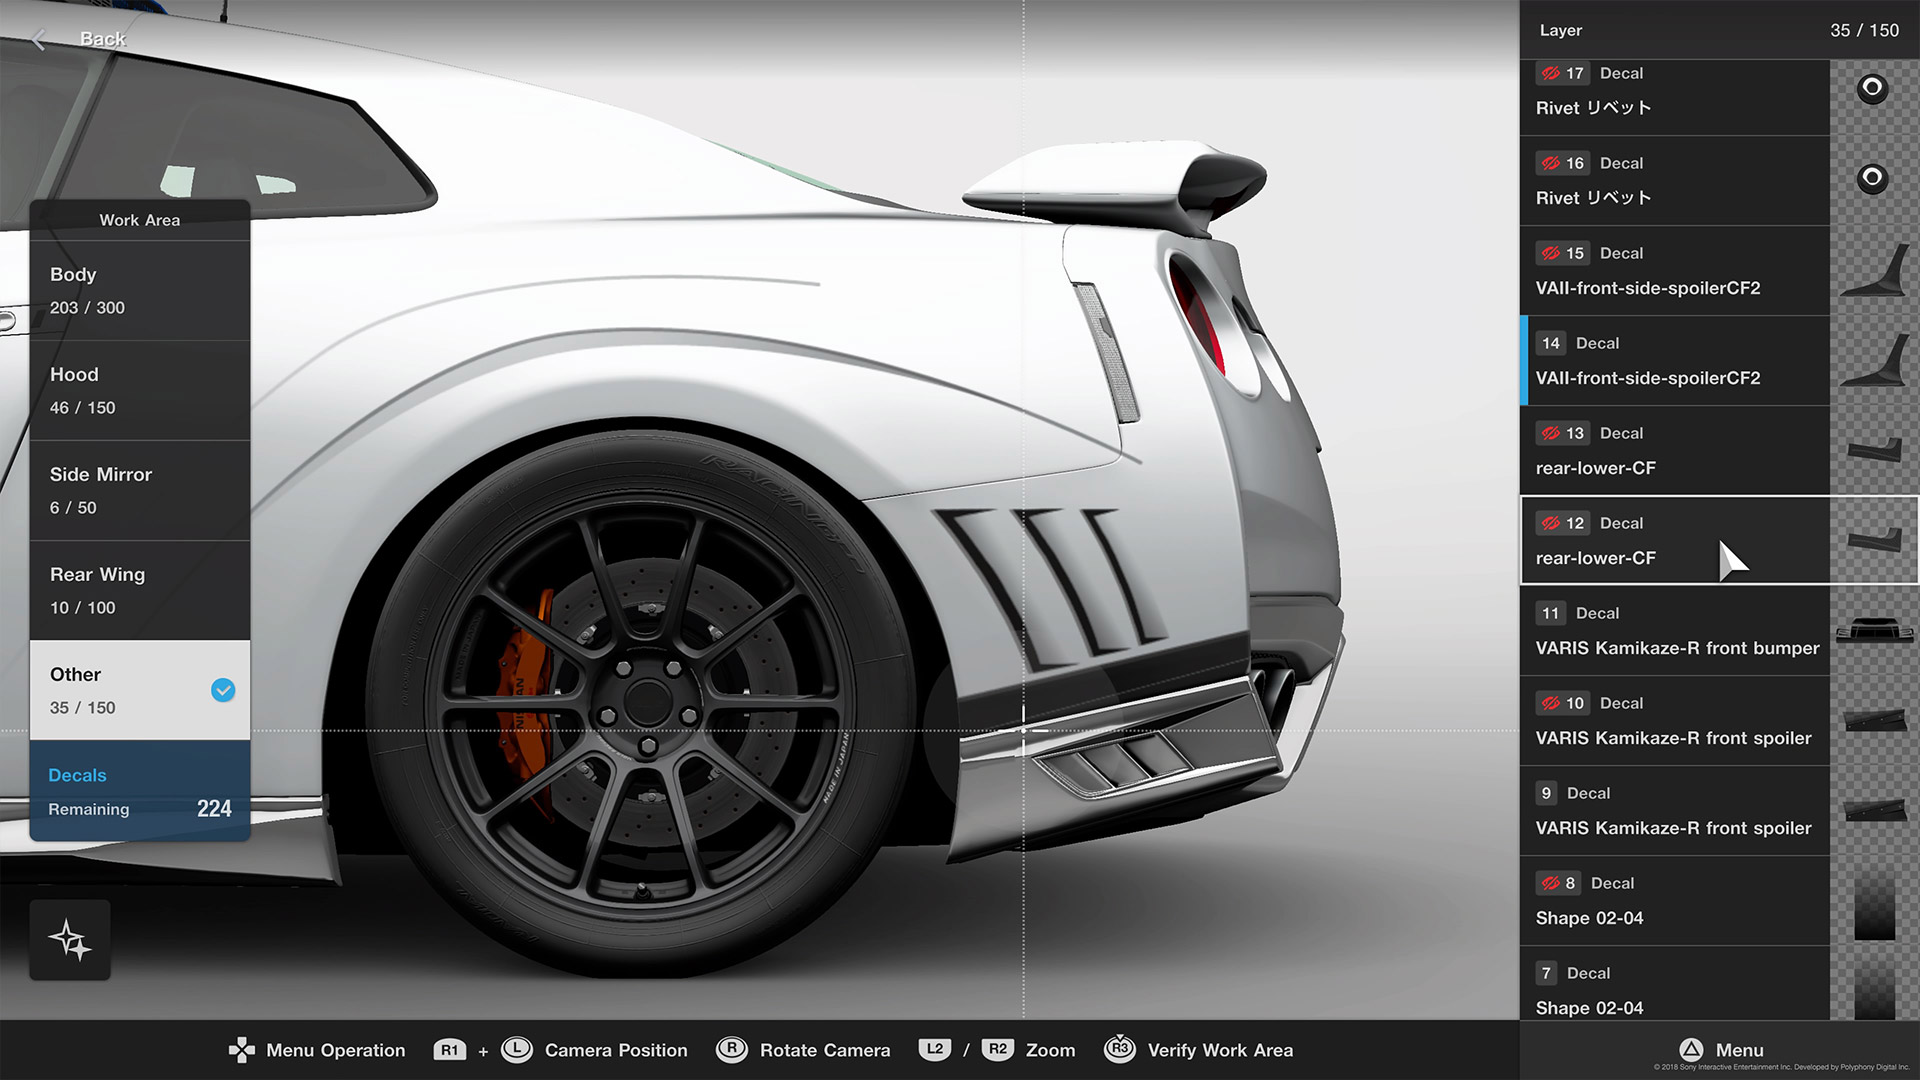
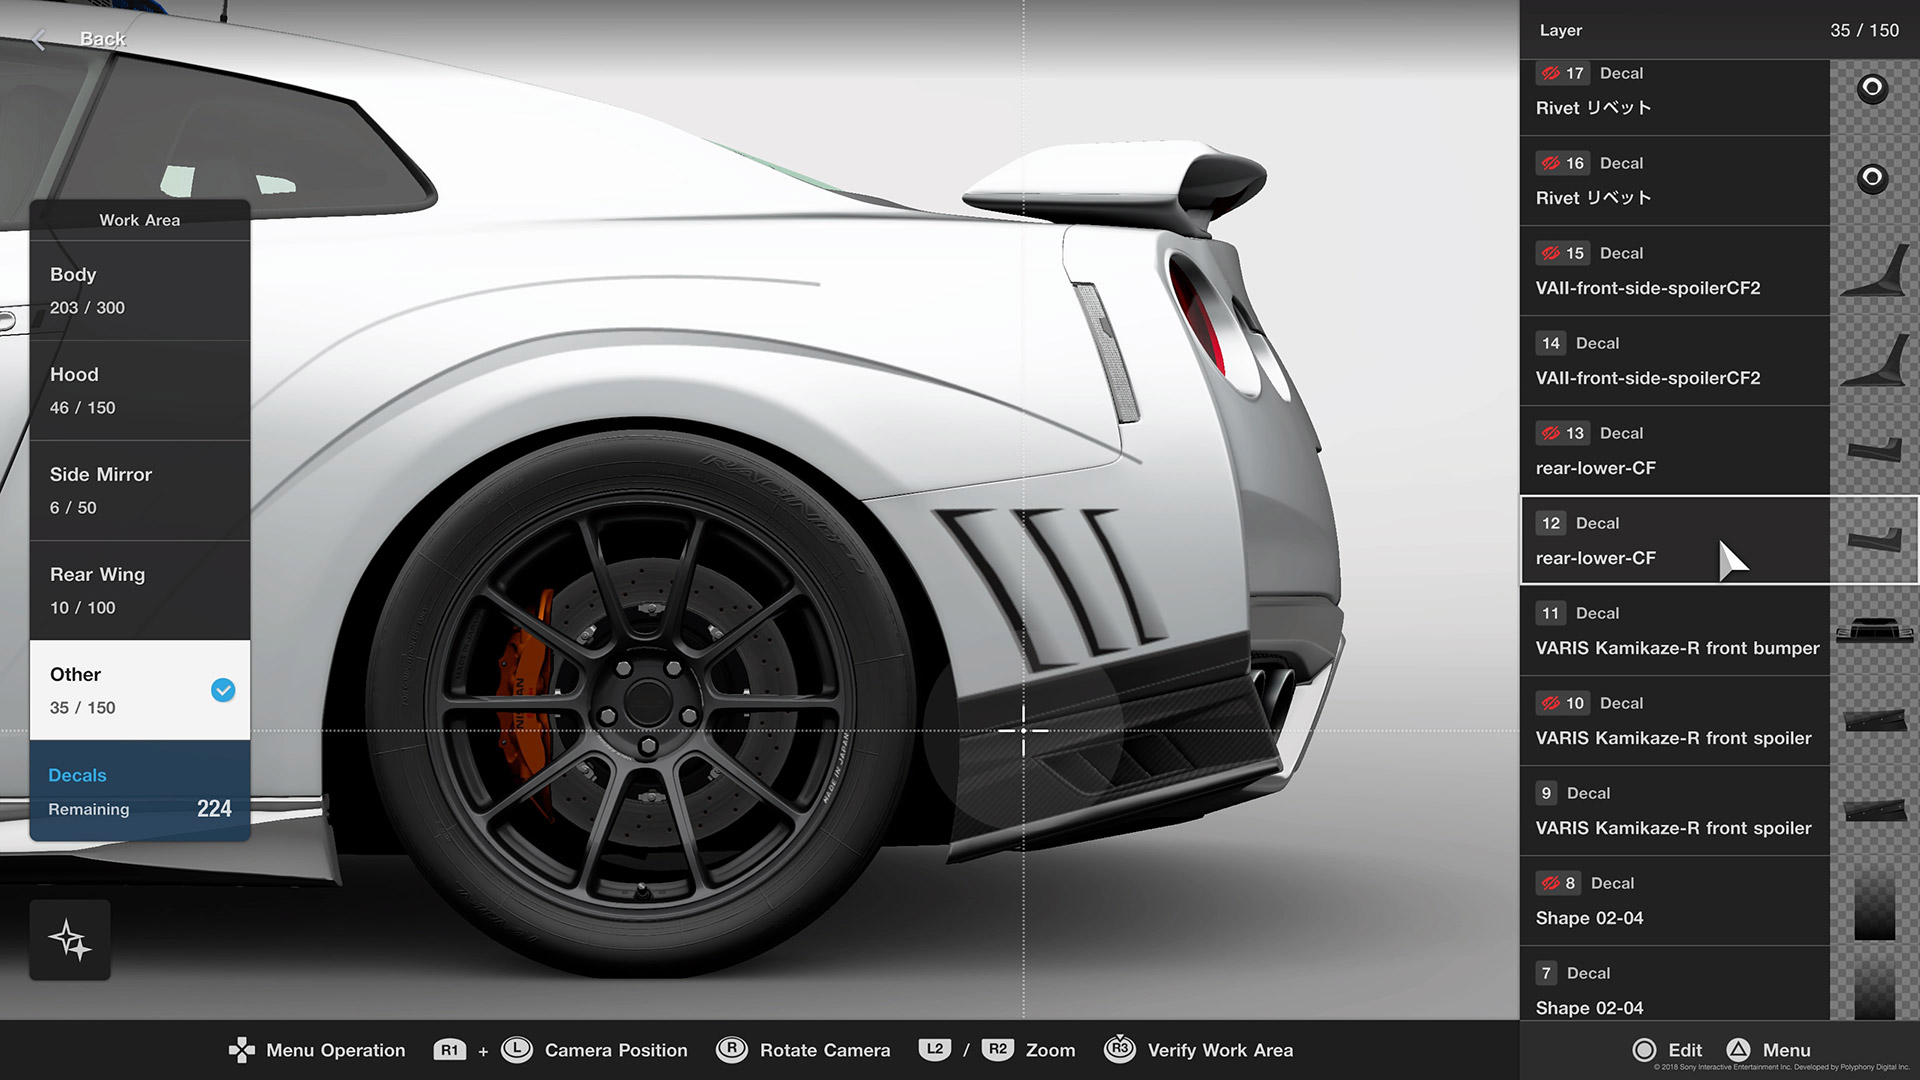
Adding the body Kit Pieces
First - let me make a quick note and please pay attention because understanding how this works will really step up your livery game.
Most of you reading this probably already know how it works, but when using the Align to Camera mode, you can set the angle that the decal will be applied with right stick. You can also hold R1 and move the left stick to pan the entire screen and hold L1 and move the left stick to move the camera's center point. Try it out. The crosshairs represent the exact center where the decal will be applied. If you are over an area that cannot have a decal applied to it, the crosshair will turn red.
So, no more fighting with placing a decal and trying to spin it around evenly. Setup the camera angle and choose your center point first. That means you can spin the camera around 90 degrees to nail down placement on the roof. You can tuck decals into corners. Go crazy! Later on I'll go over how to control corner wrapping.
Front Bumper and Grill
The reason that I mention the camera centering now is because there is also a potential pitfall that we may need to negotiate. If you are using align to camera mode, the decal will remain straight and it will ignore the body contour that you are trying to stick it on. Unfortunately there are always limits to how far you can push it. On areas of the car that contain drastic differences in surface height or angle, the decal may ghost out. Putting it a different way, if the editor is unable to apply the decal where you are trying to place it, some parts of the decal may temporarily disappear. This is very common when using large decals on very uneven surfaces..... LIKE THE FRONT BUMPER DECAL ON THIS GTR!
Fortunately, in most cases, by slowly adjusting the size of the decal or by stretching the width or height we can usually find a place where the decal will completely recover and show up again. It just takes some trial and error. If nothing seems to work, please reset the camera alignment and center it on a slightly higher or lower area and try again.
Once you have the front bumper decal placed on the body, switch over to the OTHER tab and drop another copy of the front bumper decal on the front. Size it to match up with the one on the body and you should see some of the grill area effects start to show up.
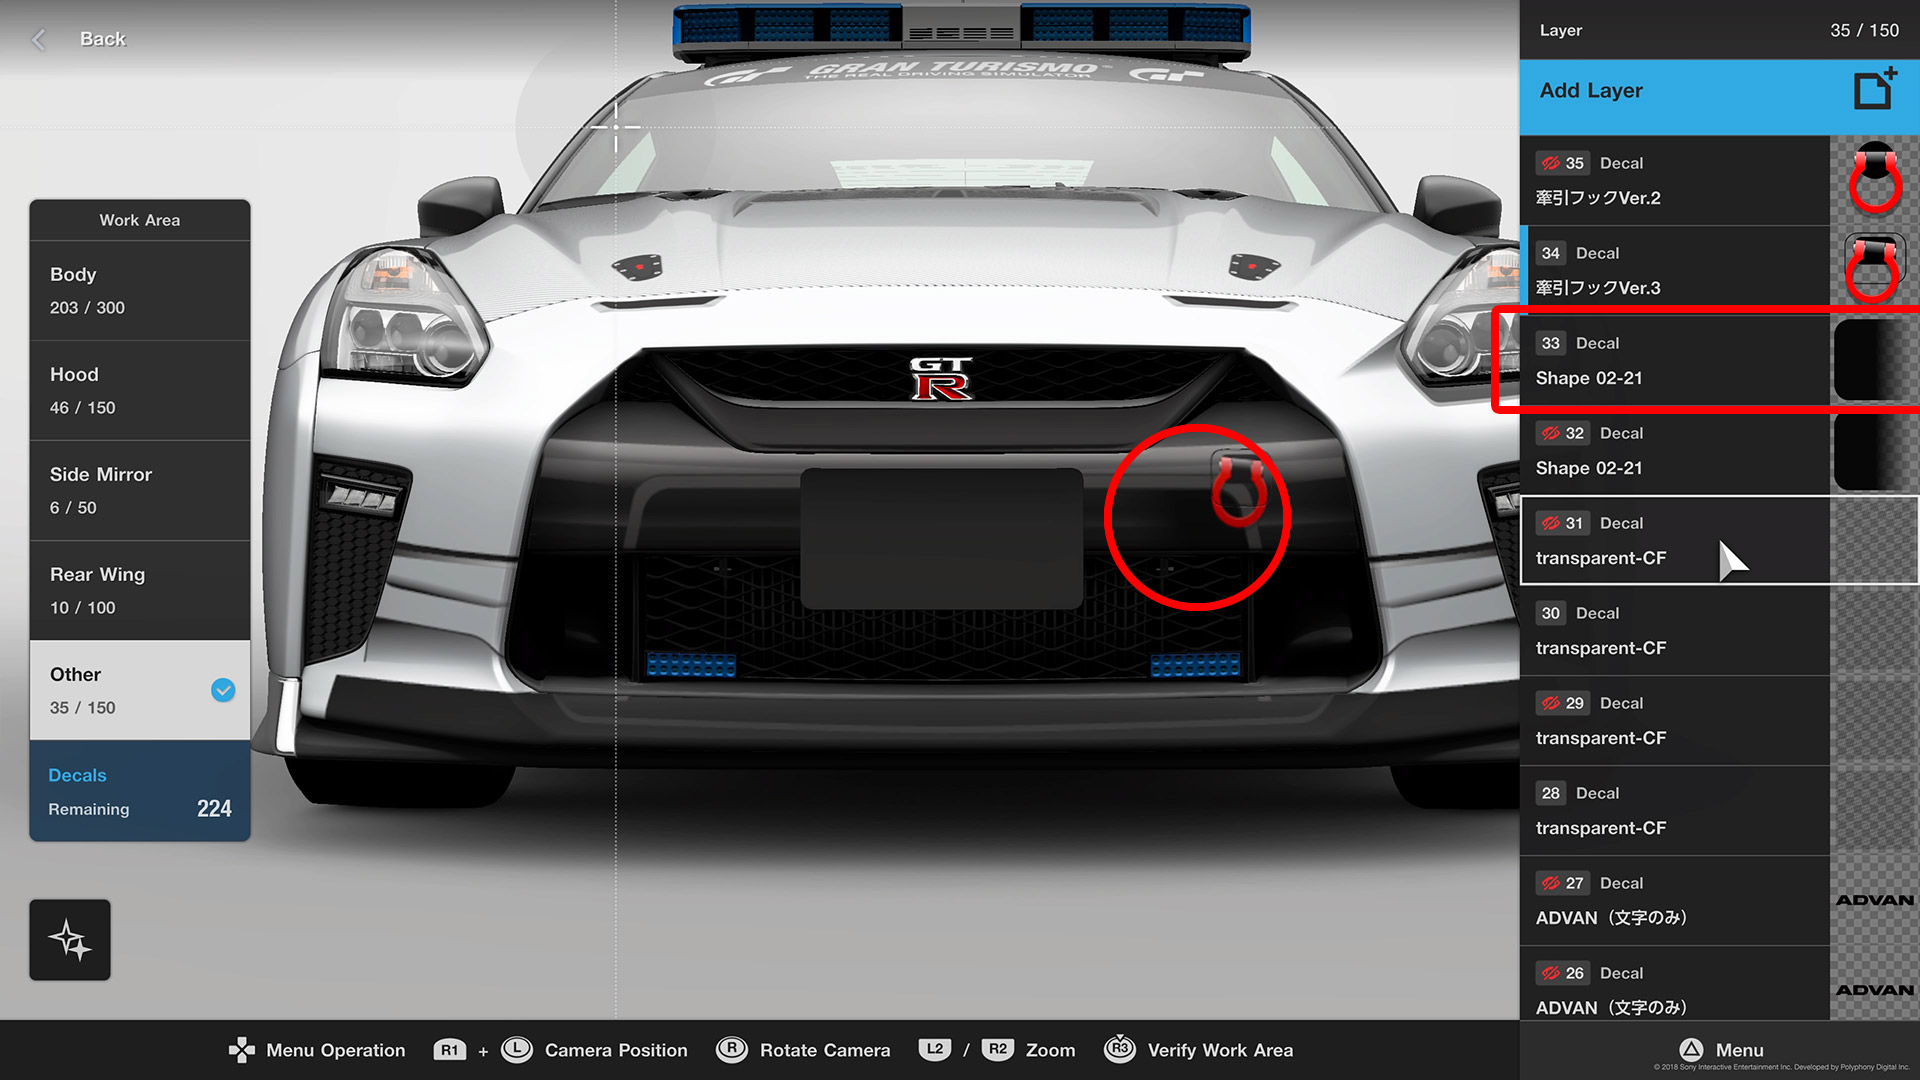
To give the front bumper a more finished look, I've added a couple of shadows, added a tow hook, and then placed a front bumper vent toward the top.
However, we have one more thing to fix before we move on to the next section. Most likely you will be left with a small gap on the lower left and right of the front underspoiler. Please have a look at the difference on the under spoiler (the black area) between [Figure 17] and [Figure 18] below. To fill this area in I've oversized a circular curved decal and stretched it out far enough to match up the curve with the spoiler top.
Figure 17: Adding further detail by enhancing shadow.
I've added a rounded black gradient shape to the inner part of the bumper (OTHER section). The left side has been turned off so that you can see the difference. (check the fullsize image) Let's go ahead and add a tow hook while we're at it!
Figure 18:
Finishing the lower edge of the front spoiler with an oversized curve. Please compare this image with the previous one to see the difference. Note that if you have trouble matching the curve across the entire area, you can setup an oversized curve decal to cover half of the area and then just duplicate the decal to the reverse side to complete it.
Figure 16: Set the front bumper decal place the front bumper decal on the body front AND also on the other layer front so that they align. Use align to camera mode to keep things straight - just beware of disappearing areas.
Figure 23:
Just a quick reminder of where we are trying to go.
Front and Rear Fenders, Side skirts
We are now ready to proceed with the full left side of the car and we start our tour at the front fender.
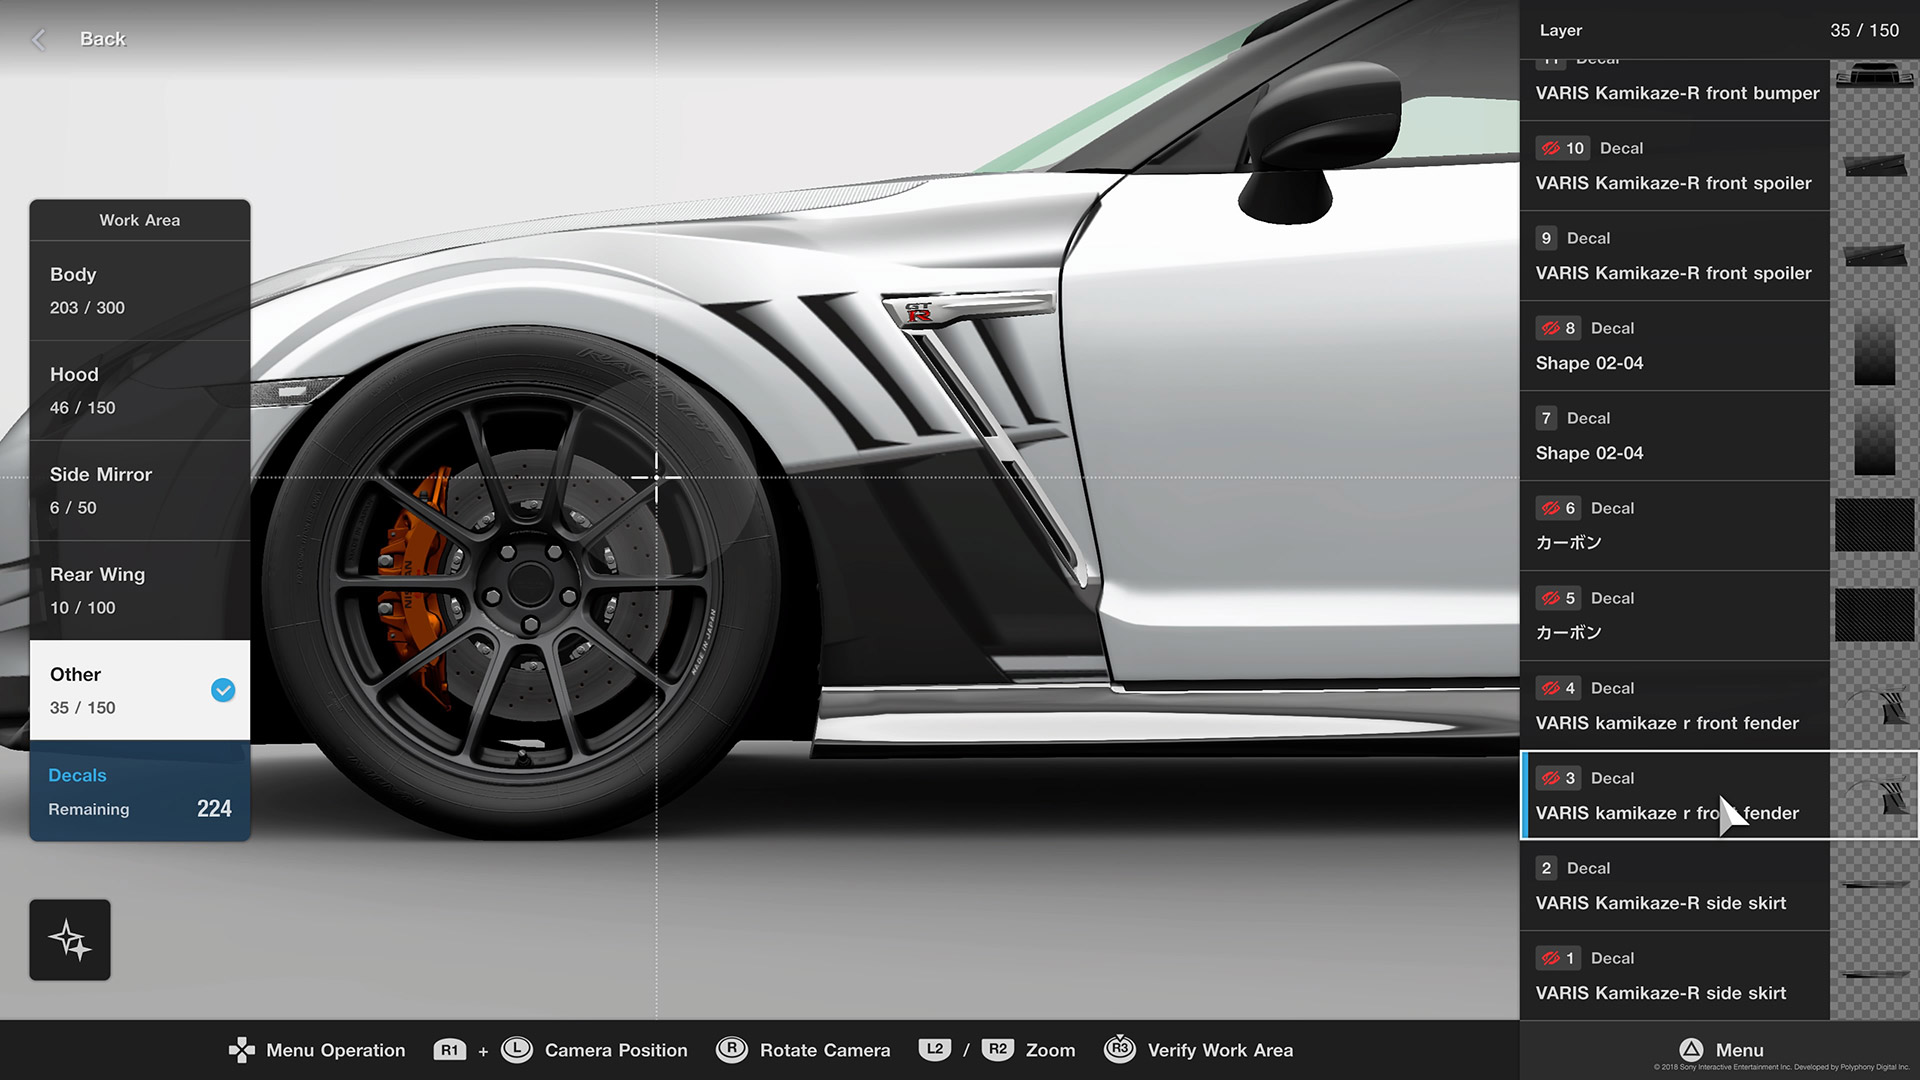
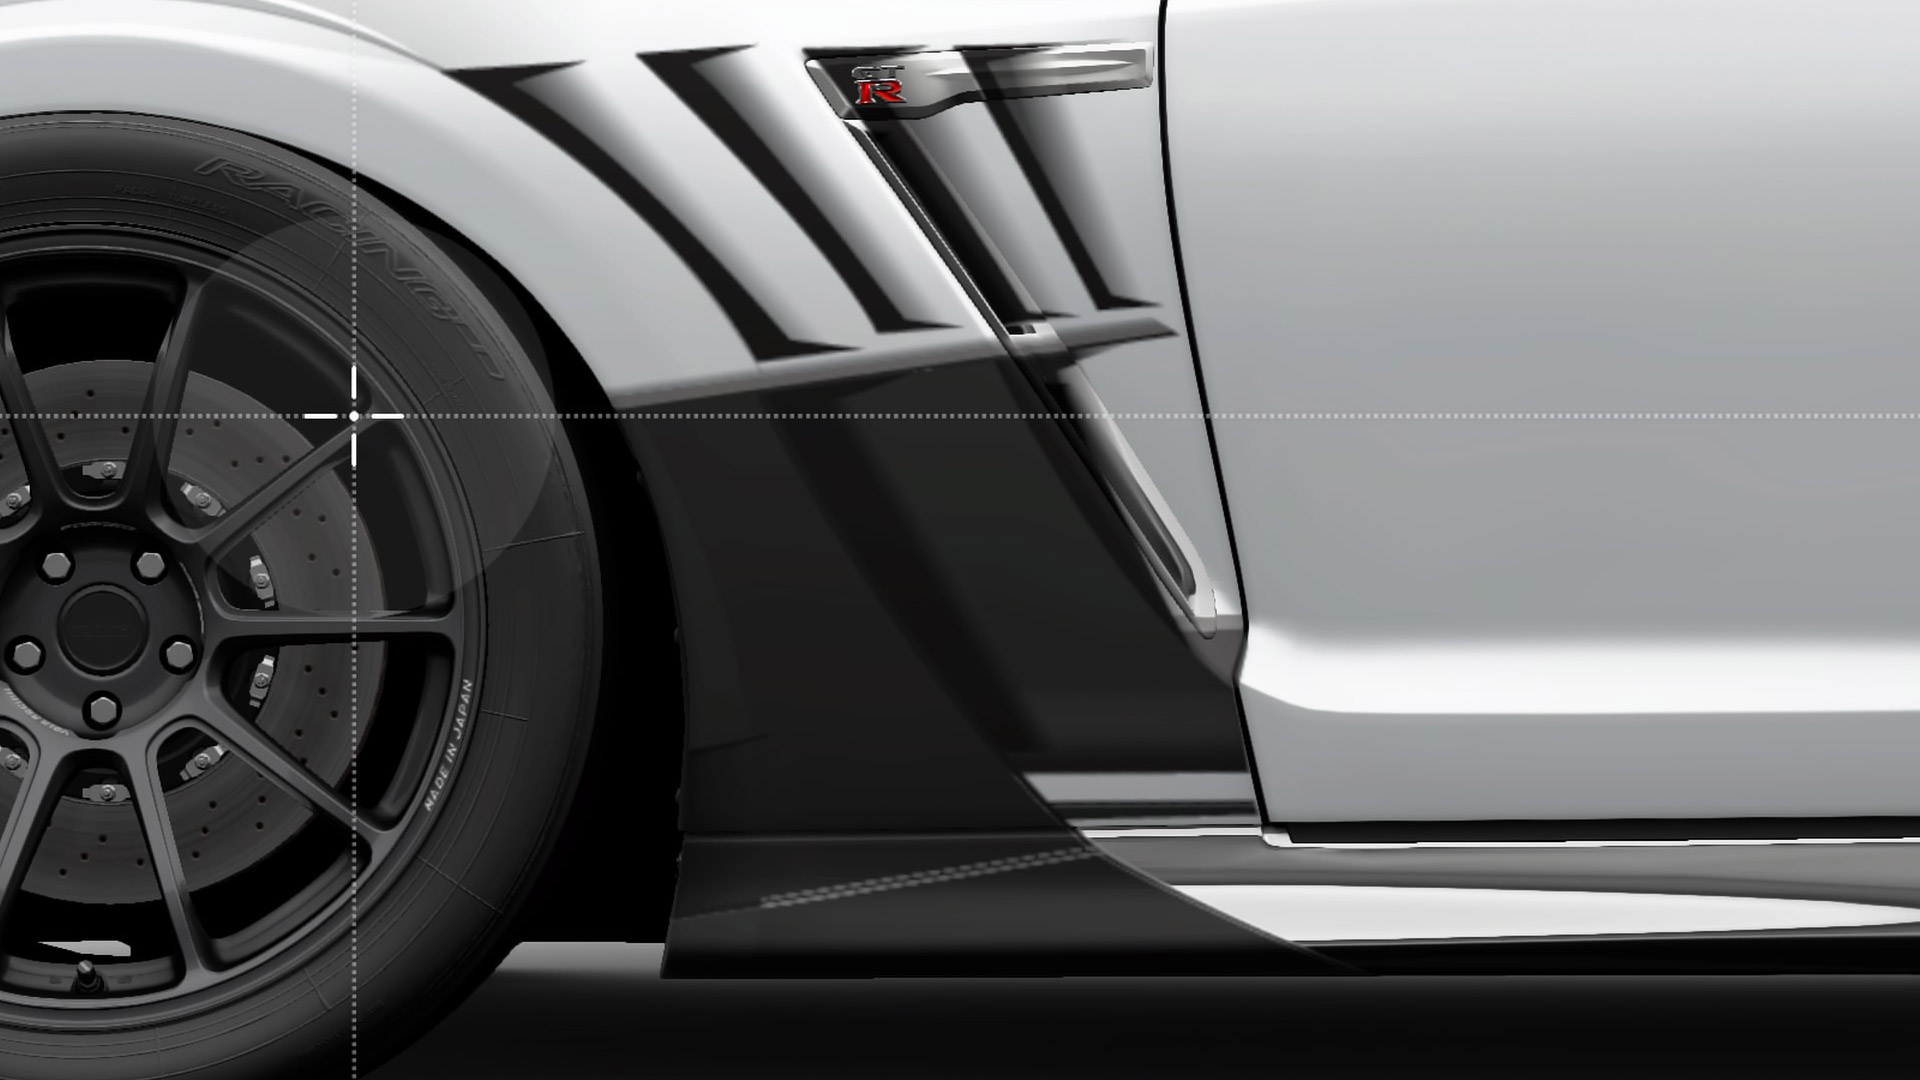
The Kamikaze-R front fender decal is another large one, but fortunately its much easier to get into place than the front bumper. Use align to camera and get a center point set that is on the front wheel arch in line with the center point of the front wheel. Then stretch the decal into place. For positioning hints, please keep an eye on the right side near the door line and try and place the round bolt hole on the left over the turn signal. [Figure 19]
When you are satisfied with the placement of the fender decal, switch over to the OTHER group and place another copy of the fender decal down and match it up. Pay particular attention to how the lines on the vents should align. [Figure 20]
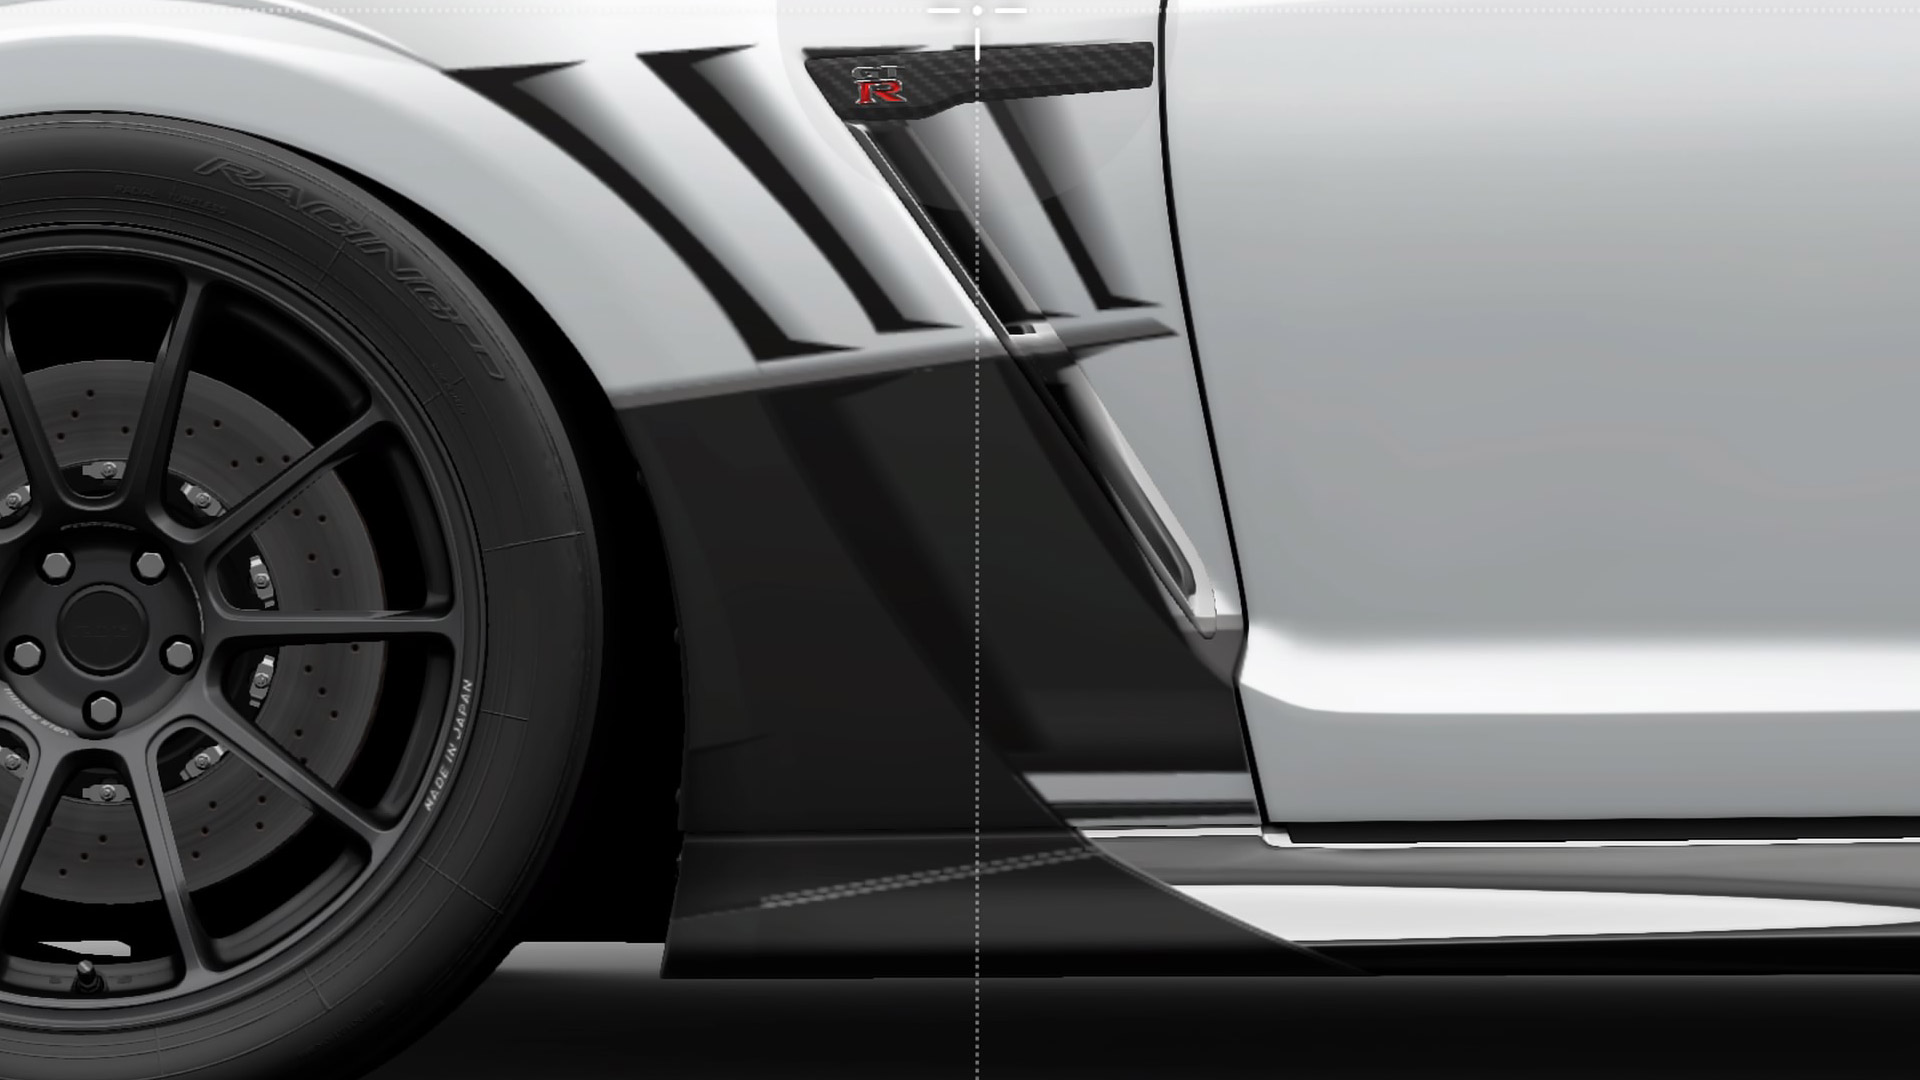
To add some finishing flair, lets drop a carbon fiber patch where the side GTR badging is. The placement and size of the patch is a bit tricky as if you go to big here the decal will bleed onto the front A Pillars or interfere with our work in the previous step. [Figure21]
Finally, to help clean up the lower line of the fender decal (where the side skirt starts) I've decided to overlay a piece from my Varis Arising Kit. Again on the OTHER group, overlay and size the Front Side Spoiler decal to fit the space. [Figure22]
Figure 19:
Figure 20:
Figure 21:
Figure 22:
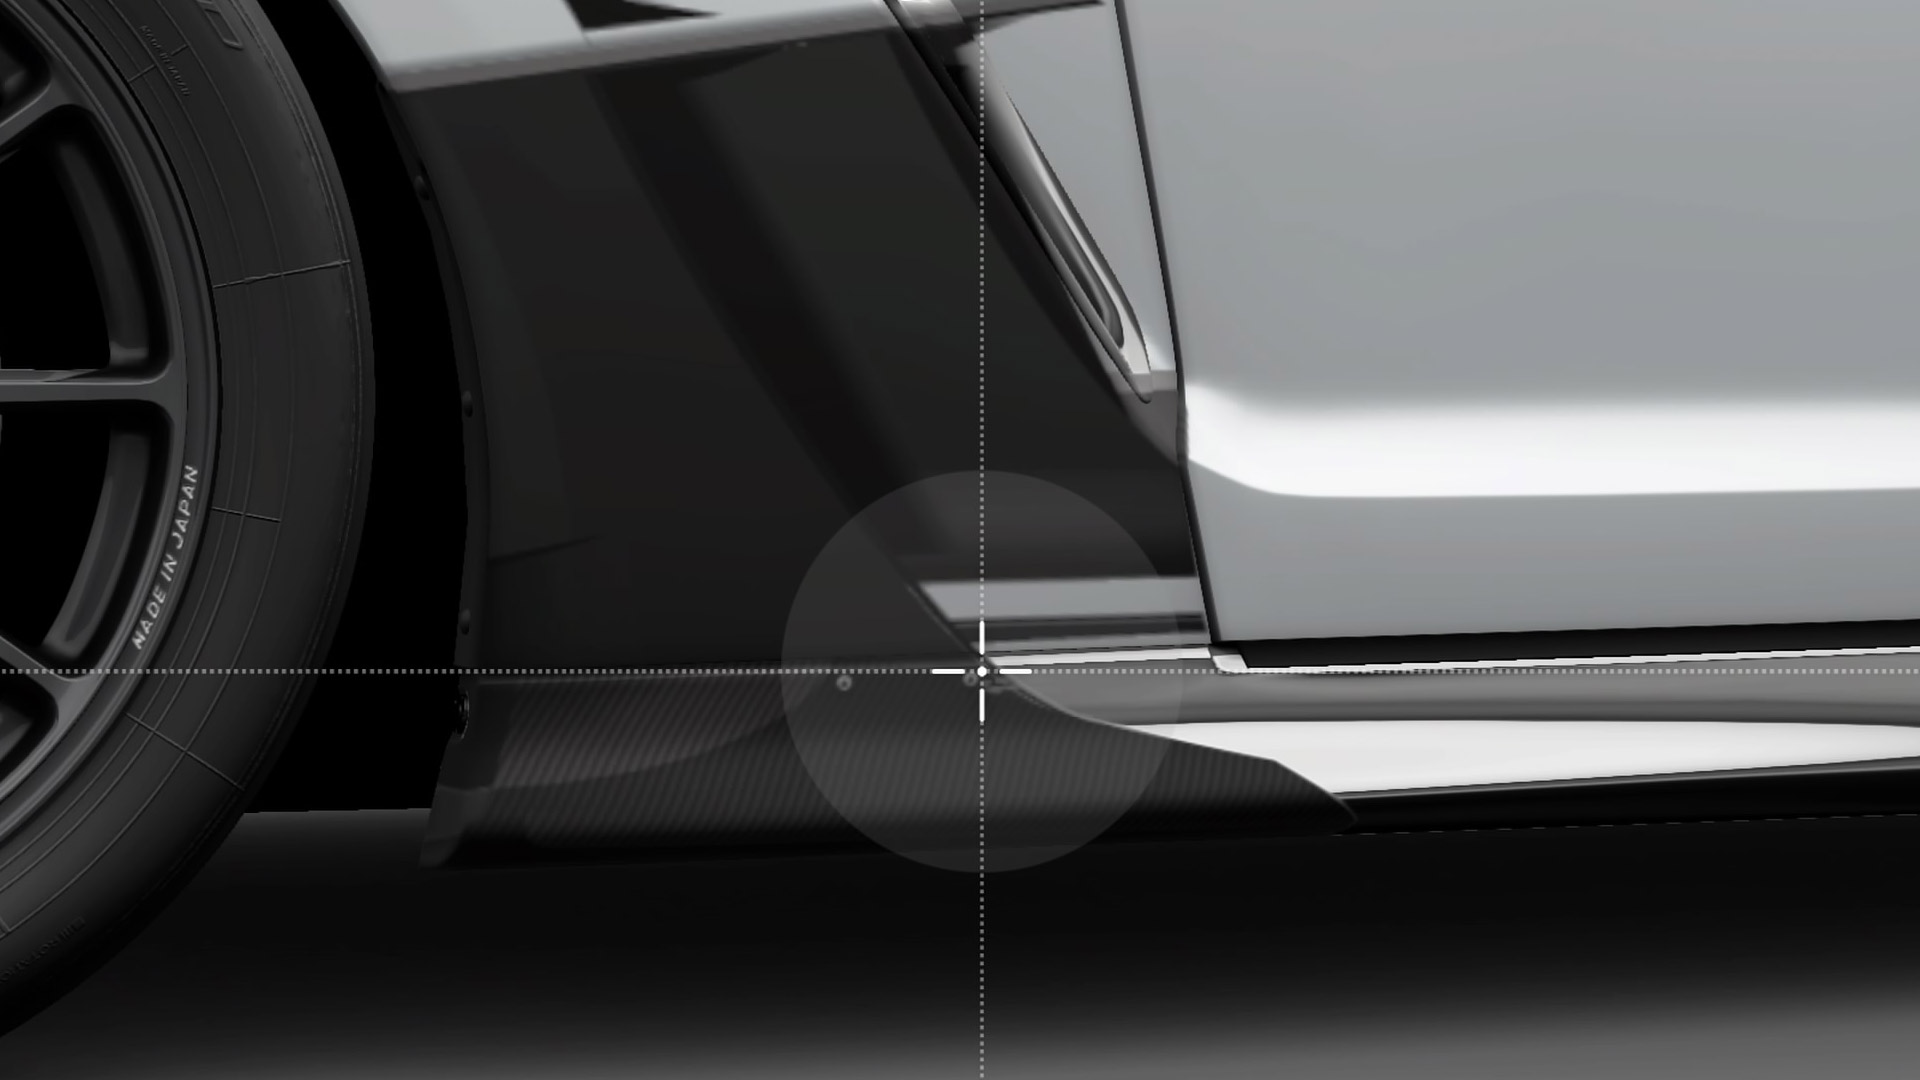
Apply the side skirt decal on the OTHER group along the.... side skirt. Yeah....Thanks a lot there, Captain Obvious.
You may also apply a second copy to the BODY group for further shadowing effects if you like. Stretch the decal width to fit. I also recommend that you keep the side skirt decal below all decals used for the front and rear fenders. The side skirt decal is pretty straight forward, but if you need a visual, please refer to the full side view in [Figure 23] in the front fender section.
The rear fender is quite a bit easier to align than the front. Again, use align to camera mode, set a center around the wheel well midpoint and drop that decal in there. Resize and slowly stretch it to fit. Keep an eye on the rear vents and keep them centered on the lower section. [Figure 24]
Switch to the OTHER group and use the Varis Arising Rear Under Spoiler to give the under spoiler a nice carbon finish. Be sure to size this decal to get a nicely balanced line width on the CF. [Figure 25]
As with the front fender, we can add a couple of minor details to give the car a much more finished look. Since the rear fender is emulating a wide body look, I've put a couple of bolts and a small CF patch down right in front of the tail lamps. We can cheat a bit and use a small carbon part (the STI CF heatshield) and just size and skew it to get the general shape right. Overlay with a bolt, duplicate and you're good to go. [Figure 26]
If everything looks good at this point, duplicate each left decal to the reverse side and we'll move on.
Figure 26: Finishing touches for the rear fender
Figure 24: Figure 25:
Figure 27:
Just one decal on the rear bumper!
Rear Bumper
The rear bumper is just a single decal applied via align to camera mode and the stretched/sized to fit into the contours on the rear of the car. Take care to line it up and watch the fit as the lower parts of the decal should get clipped with the OTHER layer right below it here.
But I'm sick of carbon fiber!
Oh you noticed the CF on the trunk and rear truck lid too? Great! Because thats exactly what we're going to do now.
Putting CF patches across the trunk is never going to work (and look right). Patches are square and trunks are often not. Lucky for you we've got two decals ready to go for our R35 and here's where we are going to finally discuss how to control decals wrapping around corners
Lets start on the top - BODY group roof view. Align to camera again and move the camera so that you are centered on the top of the trunk. I know its kinda hard with that big wing back there, but I have faith in you. Drop the R35 trunk top decal on there and size it to fit. I'd recommend using the side edge lines and the rear window joint to determine the size. You may need to stretch it to fit and most likely you are going to be overhanging the rear of the car. Thats ok. We're going to take care of that right now.
Once you've placed the decal, swing the camera around so that you are looking at the back view of the car and can see the decal overlap. [Figure 28]
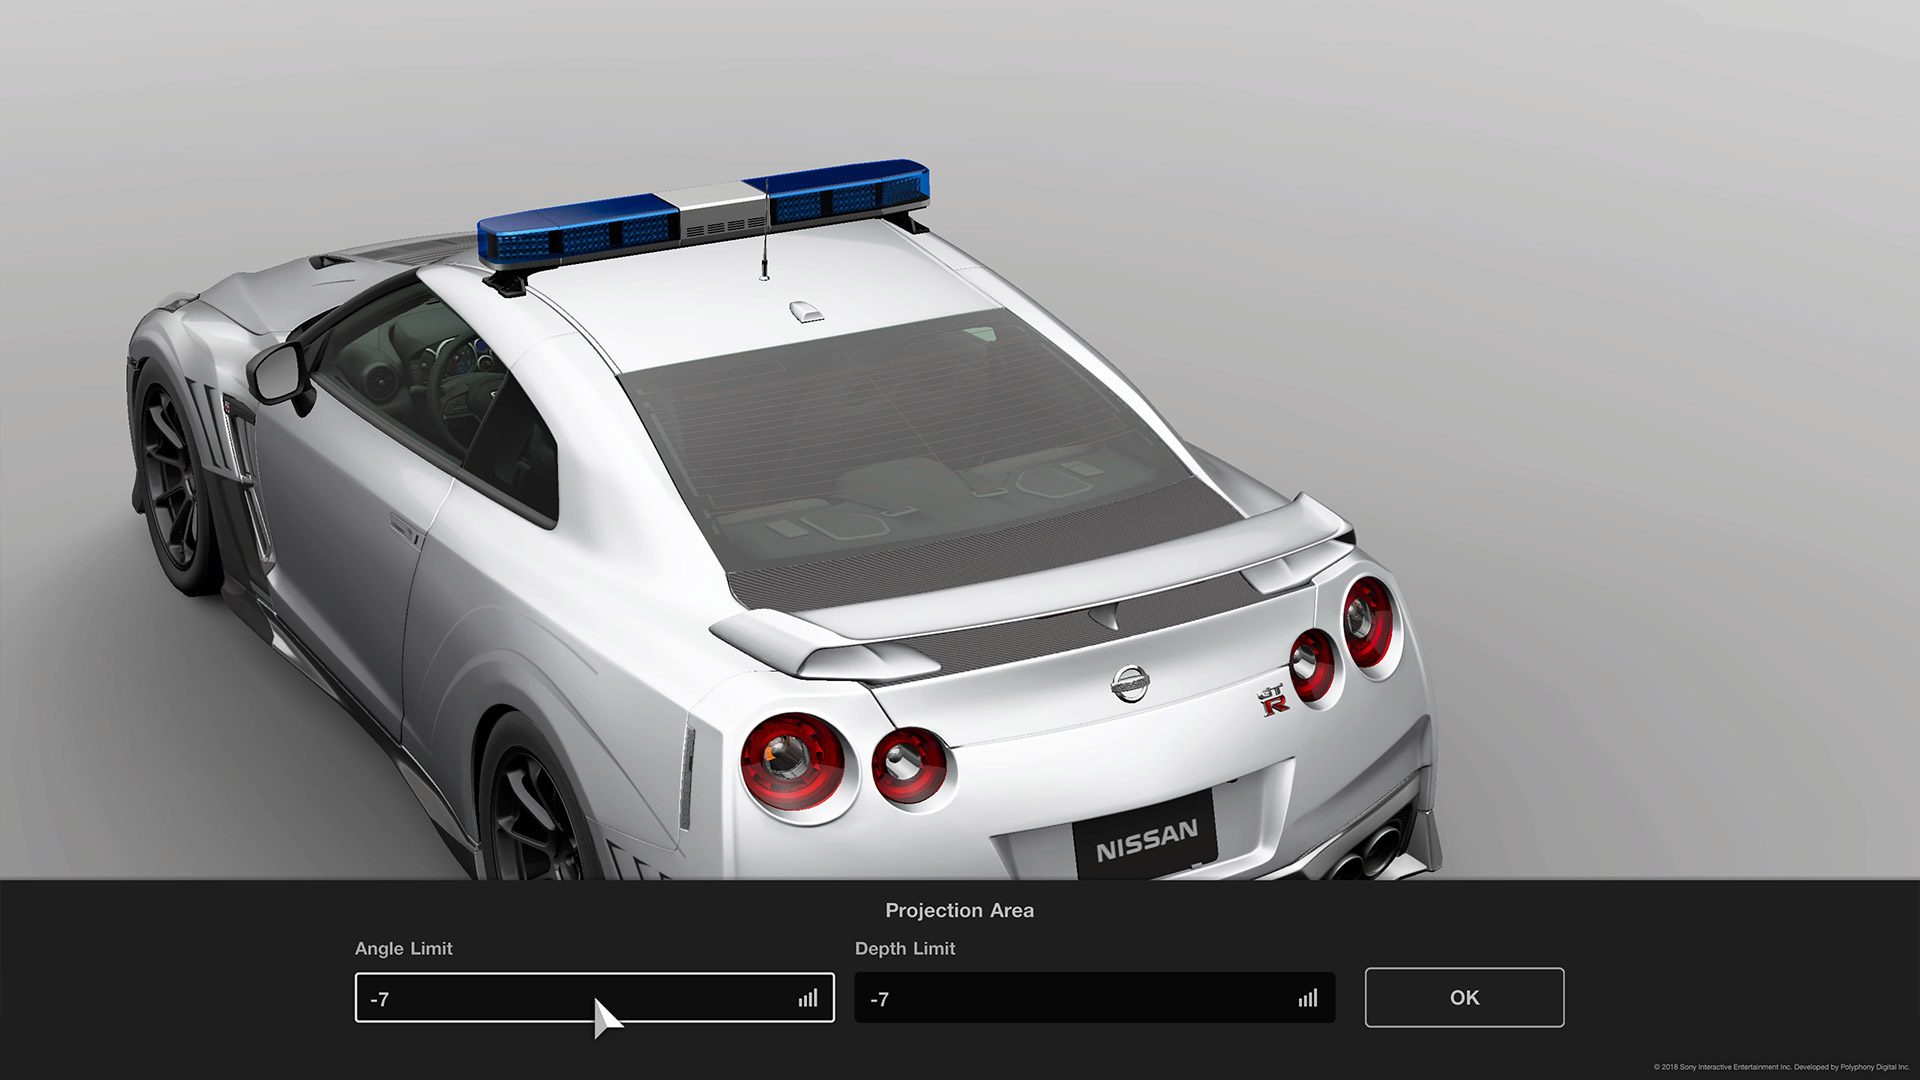
Select the Projection Settings menu and lets make some adjustments to how the decals is projected onto the car. Remember that align to camera mode specifies what ANGLE, or plane the decal is projected on. This is Angle 0 and Depth 0. Anything above this plane is a positive depth and below it is negative. Likewise, you can quickly cut off any excess or overlap of a decal by simply adjusting its projection angle.
Perhaps it would be better to think of the projection settings as a limiter to how deep down the body as well as how far around a corner you wish to show this decal. Take a look at [Figure 29] and note that I've set a limit to the angle and that will cut off any overlap down the rear of the trunk.
However, if you watch what happens, you'll probably still see bits of the trunk lid carbon decal on the bumper and maybe on the taillights. Did you notice that the places that are still showing are at about the same angle as the trunk lid top? Same angles, so the angle limit cant help us here. So lets adjust the depth to limit just how deep down the car this decal can go. As you back start to move the scale negatively, you should see the decal start to disappear from the bottom up.
Figure 28: Overlap after placing the decal on the top
Figure 29: Adjust the angle and THEN the depth to remove the overhanging bits
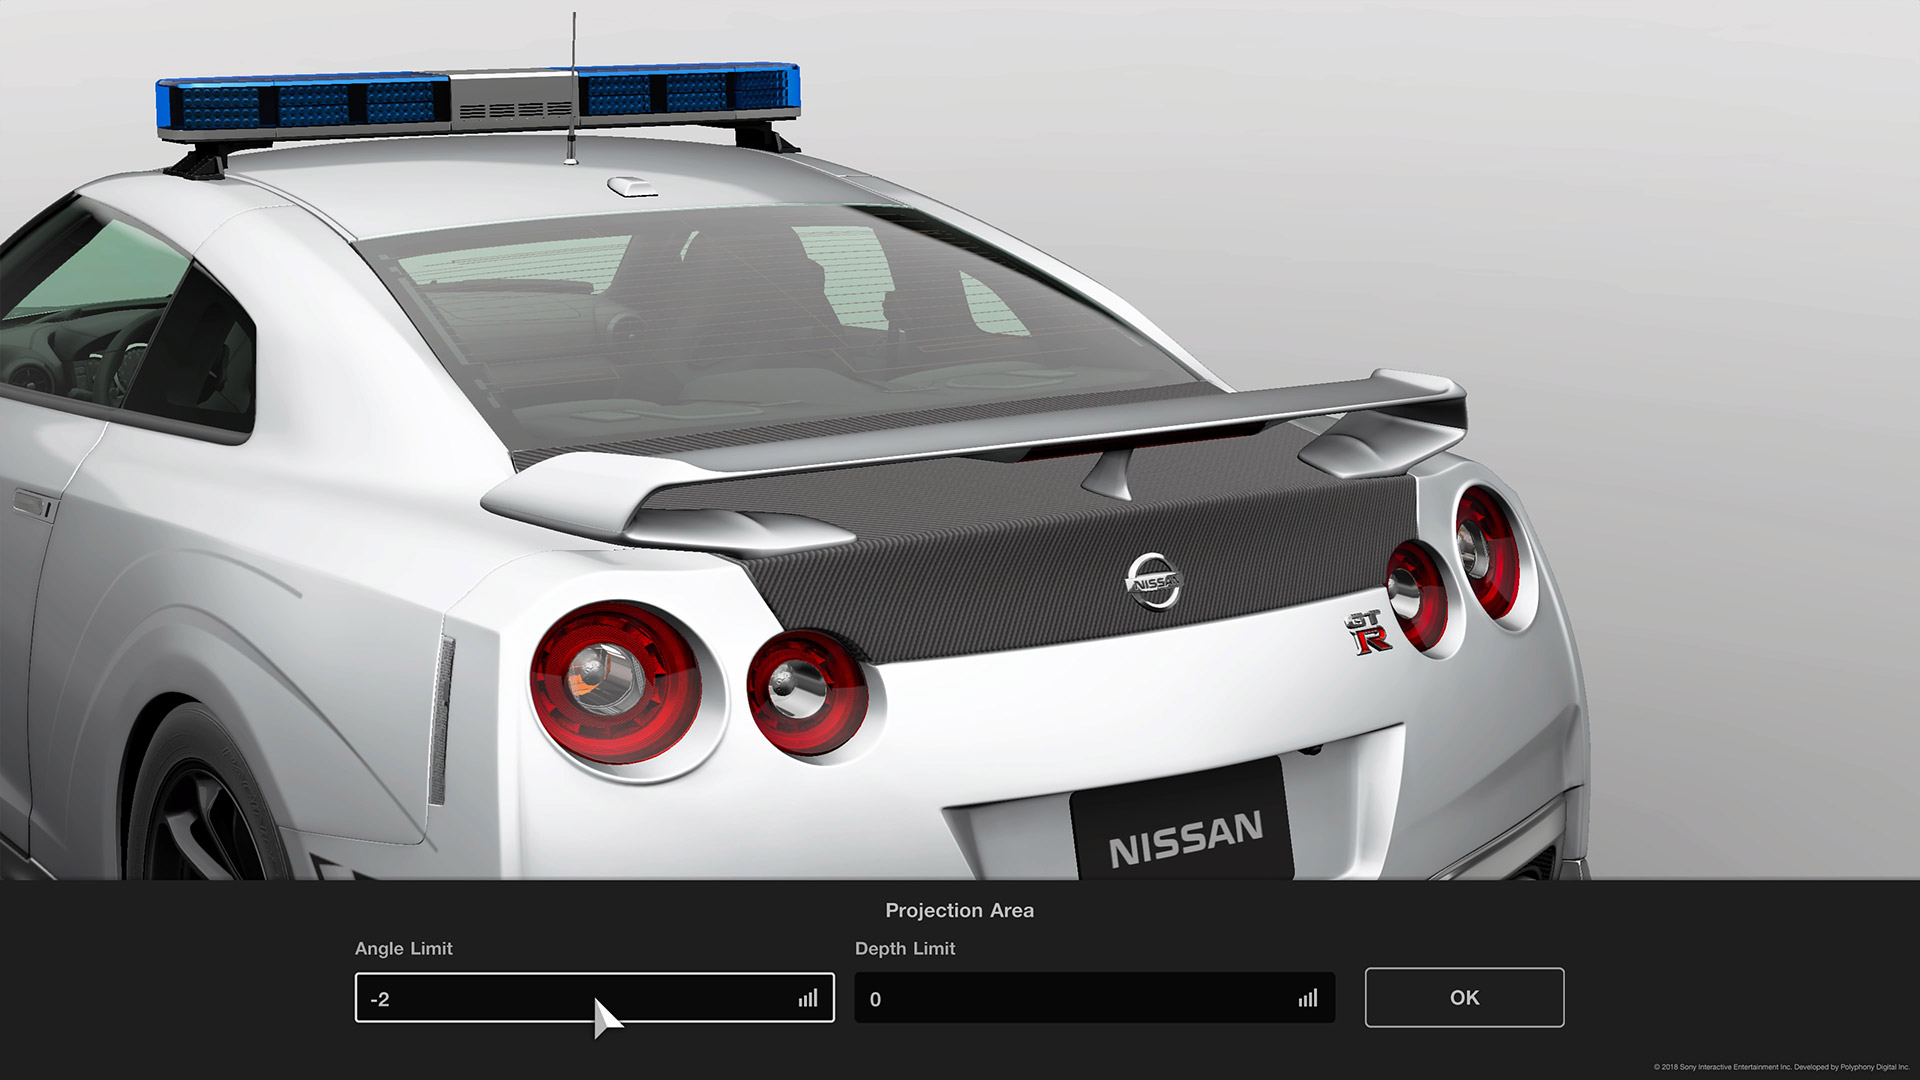
Figure 30: Place the rear trunklid decal and adjust the depth and angle so that it stops at the top corner of the trunk. Crisp and Clean!
This is also how you can prevent decals from bleeding through on those gr3 cars with overfenders and its how you can precisely control sticking decals into corners without worrying that they are going to wrap around the corner and mess up your work.
Final Details make the difference
For the final steps in our tutorial I just want to point out a few things that will help give you a better finished look.
Add rivets or bolts to bolted on Aero Parts like the CF side skirt spoiler
Add some effects and the Front side spoiler piece to the front bumper corners. Make sure the lines match up with the front bumper!
Jump over to the OTHER group and add some transparent CF to the A pillars.
Dont neglect your side mirrors either! Again, thats a great place to try some CF work, or just add a matte decal and a pinstripe for accent.
How about the rear wing? CF patch or transparent CF on top - maybe even add a small gradient curve to the back edge to simulate a gurney flap?
And most importantly - have fun and be creative! Experiment with new things and find your own style and expression.
I hope this tutorial has been helpful and informative. If you have questions, find typos, or need further explaination, please contact me via the GTSRL discord chat. Until next time!